Best Adaptive Backpacks For Mobility Scooters On Trail
By Linnea Sørensen • 21st May
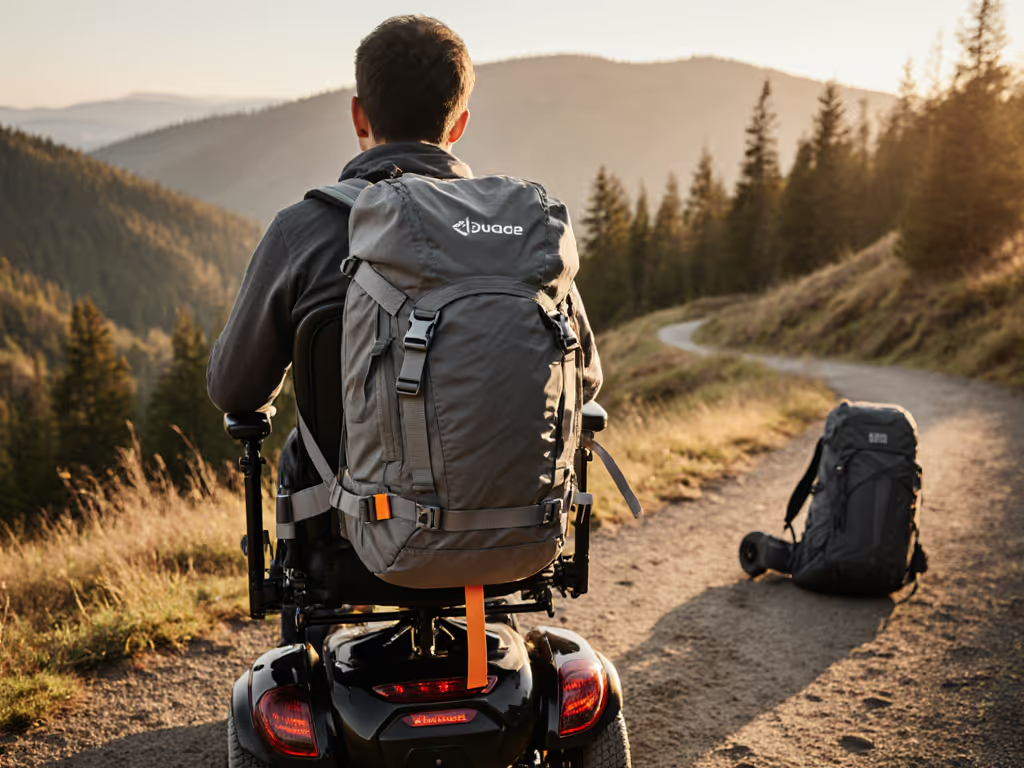
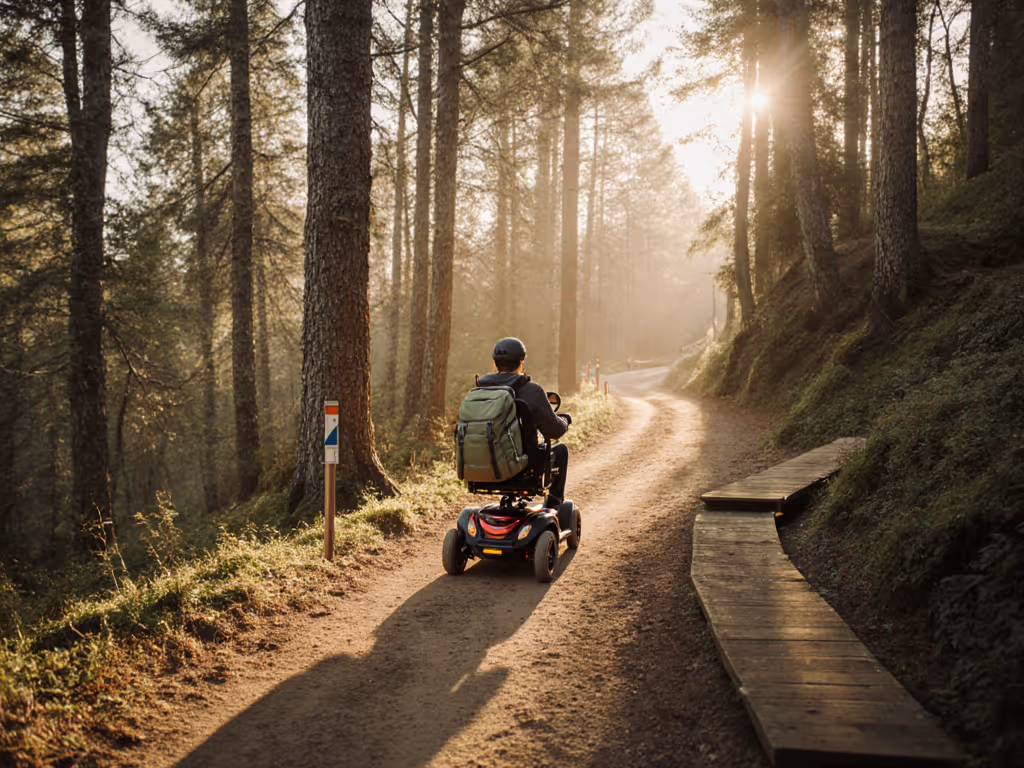
Hitting the trail with a mobility scooter doesn't mean giving up on a dialed-in pack. It does mean you'll want adaptive backpacks for mobility scooters that respect how you move, sit, and reach, so hiking with assistive devices feels fluid instead of like a wrestling match with your gear.
This FAQ-style deep dive compares different adaptive approaches, key features, and practical setups, so you can choose a system that actually works for your scooter, body, and terrain.
Fit that respects your body feels like permission.
FAQ 1: What Makes a Backpack "Adaptive" For Mobility Scooters?
An "adaptive" pack, in this context, isn't just a backpack with more pockets. It's a carrying system that:
- Interfaces safely with your scooter
- Attaches to the frame or seat without loosening every time you hit a root or rock.
- Avoids interfering with wheels, controls, or the turning radius.
- Respects a seated posture
- Doesn't dig into your lower back or pull your shoulders forward.
- Keeps weight low and close to the scooter's center, rather than swinging high and far behind you.
- Protects your energy and joints
- Reduces strain on shoulders, hands, and neck by letting the scooter carry most of the weight.
- Lets you reach essentials without twisting or repeated straining.
- Allows modularity
- Works on days you're mostly riding and days you're doing some walking.
- Accepts small tweaks and add-on straps rather than forcing you into one rigid setup.
Underneath all the hardware and straps is one simple idea: the pack should adapt to you and your device, not the other way around. For a deeper comparison of scooter-ready designs, see our adaptive packs for scooter hiking guide.
FAQ 2: How Is Hiking With Assistive Devices Different From Walking With a Pack?
If you've used a standard hiking backpack, you already know the basic principles: keep the load stable, close to your body, and predictable. With hiking with assistive devices like scooters, a few things change:
-
Center of gravity moves to the machine. The scooter (not your spine) becomes the main load-bearing structure. That's a huge opportunity: you can carry more without punishing your joints, if the weight is attached thoughtfully.
-
Contact points shift. Instead of shoulder straps and hip belts taking most of the pressure, it's your seat back, armrests, and frame. Hard edges, loose straps, or odd shapes can create hot spots where your back, elbows, or hips meet the scooter.
-
Range of motion is different. Twisting to grab a bottle or rummage behind you can be harder or less safe. Easy-access side or front storage becomes more important than massive top compartments.
-
Stability has new variables. Side-loaded panniers or high, rear-hanging bags can influence tipping and how the scooter handles uneven terrain. Even light loads can feel big when they're in the wrong place.
Adaptive setups acknowledge all of that and re-think where the pack sits, how it's attached, and how you move through space.
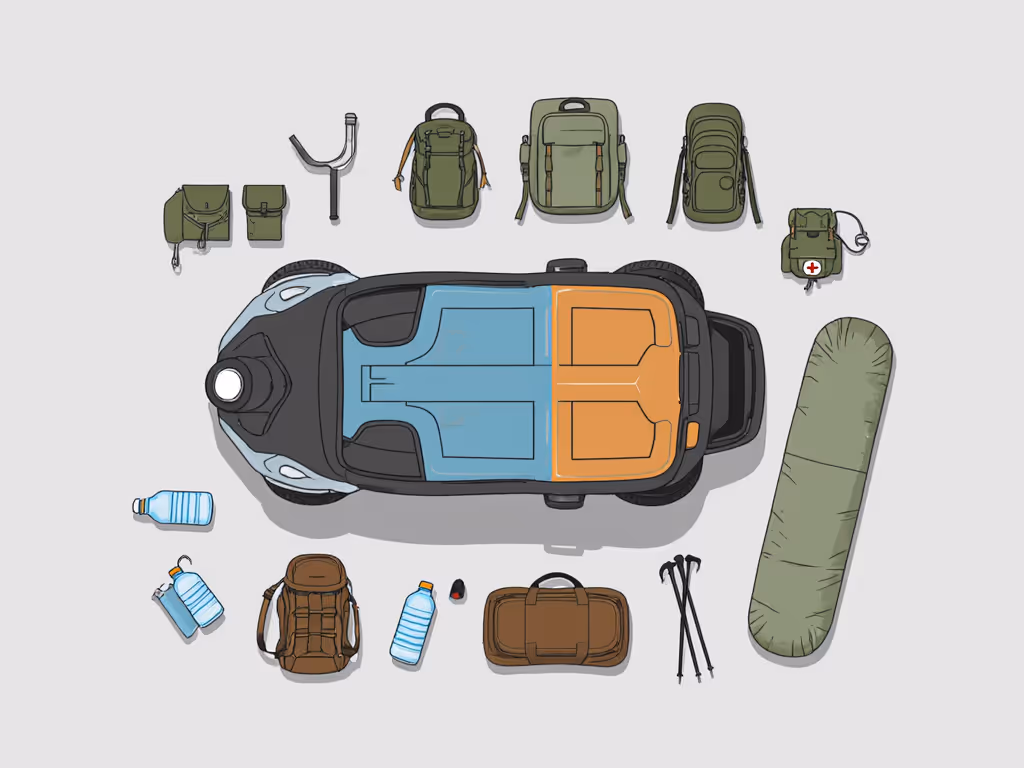
FAQ 3: What Types of Adaptive Backpacks For Mobility Scooters Are There?
You're not limited to one "right" answer. Most people land on a hybrid system that blends scooter-mounted storage with light on-body carry. Here are the main categories and how they compare.
1. Traditional Backpack Worn While Seated
You wear the pack like usual, and sit in the scooter with it on.
Pros
- Familiar fit and organization.
- Easy to hop off and walk short sections.
- Works with most packs you might already own.
Cons
- Can push your head forward or round your shoulders if the pack is thick.
- Back ventilation is poor; you're against both pack and seat.
- Harder to lean back fully or adjust posture.
Best for: Short scooter rides between longer walking sections, or when you're still dialing in scooter-mounted solutions.
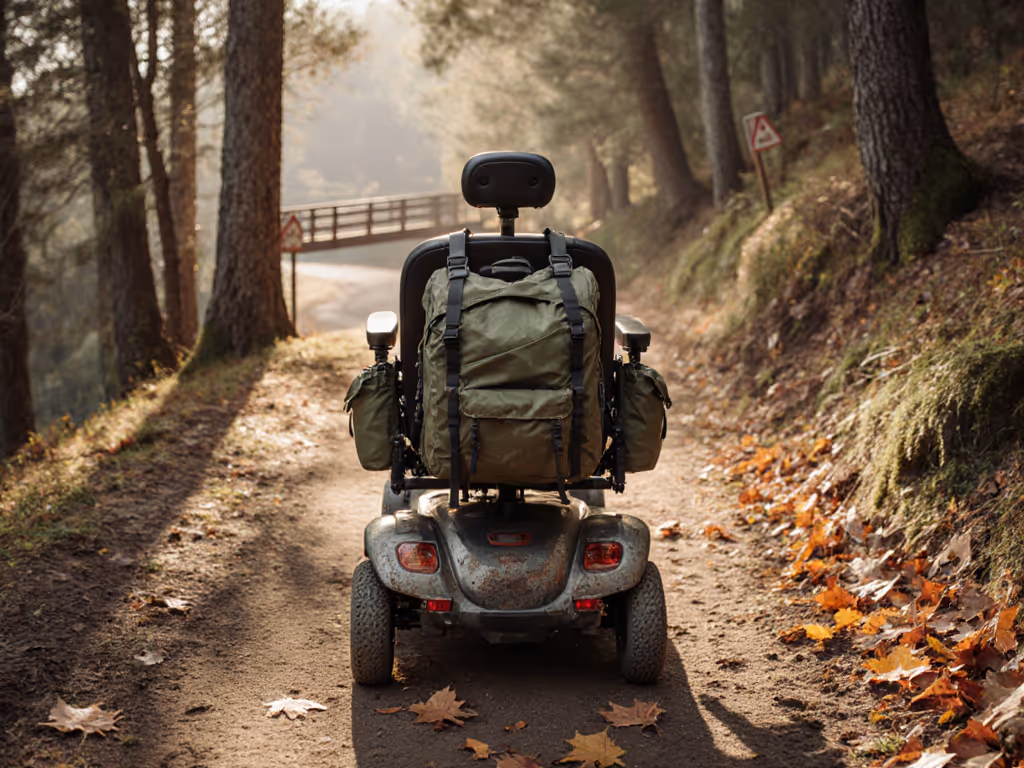
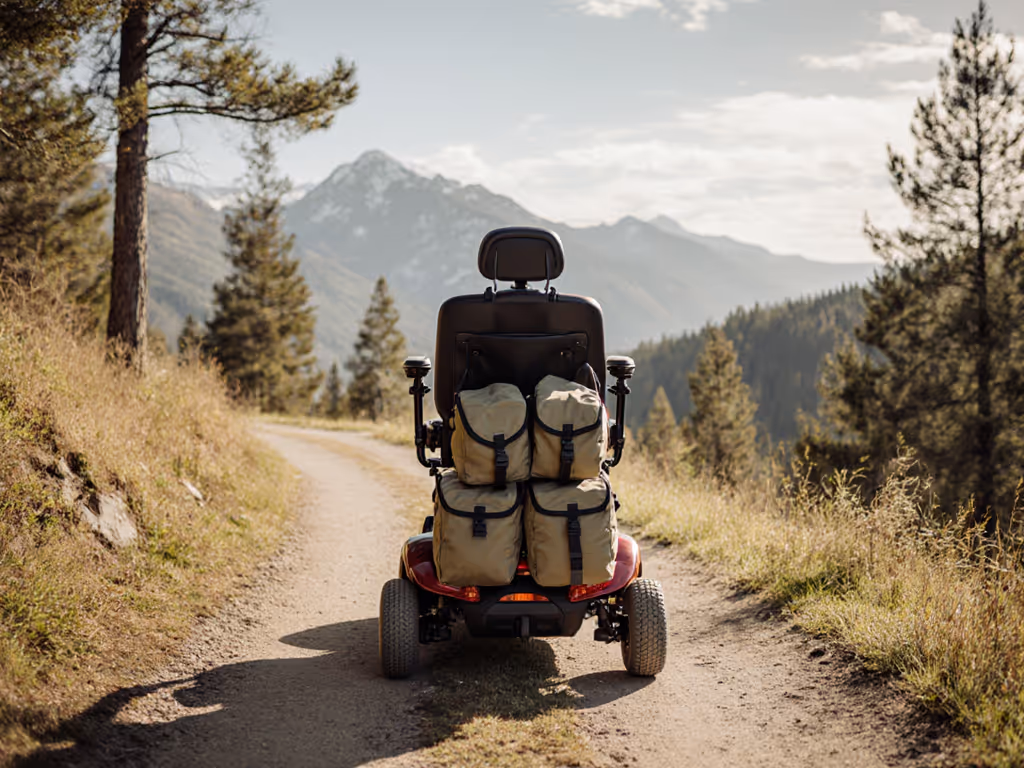
2. Backrest-Hanging Packs
A small or medium pack is hung on the back of the scooter seat using its shoulder straps and extra anchor straps.
Pros
- The scooter carries the weight, not your body.
- Easy to use off-the-shelf daypacks with minimal modification.
- Central, symmetrical load - good for stability.
Cons
- Can extend the rear of the scooter and snag on tight turns or rocks.
- Access while seated is limited; better for "park and rummage" than on-the-move snacks.
Best for: Day hikes on wider trails and smoother surfaces; riders who can step off briefly to access gear.
3. Rear Rack or Platform Bags
If your scooter has a rear rack or flat platform, you can mount duffel-style or trunk-style bags directly to it.
Pros
- Very stable, low load height.
- Easy to strap down bulky items (layers, sit pad, rain gear).
- No impact on seat comfort or posture.
Cons
- Requires a compatible rack or platform.
- Rear access only; you may need to step off the scooter or have a partner help.
Best for: Multi-hour outings where capacity and stability matter more than on-the-move access.
4. Side Panniers or Frame-Mounted Bags
Bags attach along the sides of the scooter, to armrests or frame tubes, like bicycle panniers.
Pros
- Excellent on-the-move access - like a dashboard for snacks, water, and electronics.
- Weight can be kept low and near the wheels for stability.
Cons
- Must be carefully sized to avoid scraping brush or hitting obstacles.
- Asymmetrical loading can pull slightly to one side if not balanced.
Best for: Narrow or longer trails; riders who prioritize easy reach and frequent item access.
5. Modular Systems (Mix & Match)
Most trail riders end up mixing:
- A small on-body pack or chest rig (for ID, phone, meds).
- A rear-hanging or rack bag (for bulk items).
- One side pouch (for water or camera).
Fit is respect: the closer your setup matches how you actually move and stop and reach, the more your gear feels like a partner instead of a barrier.
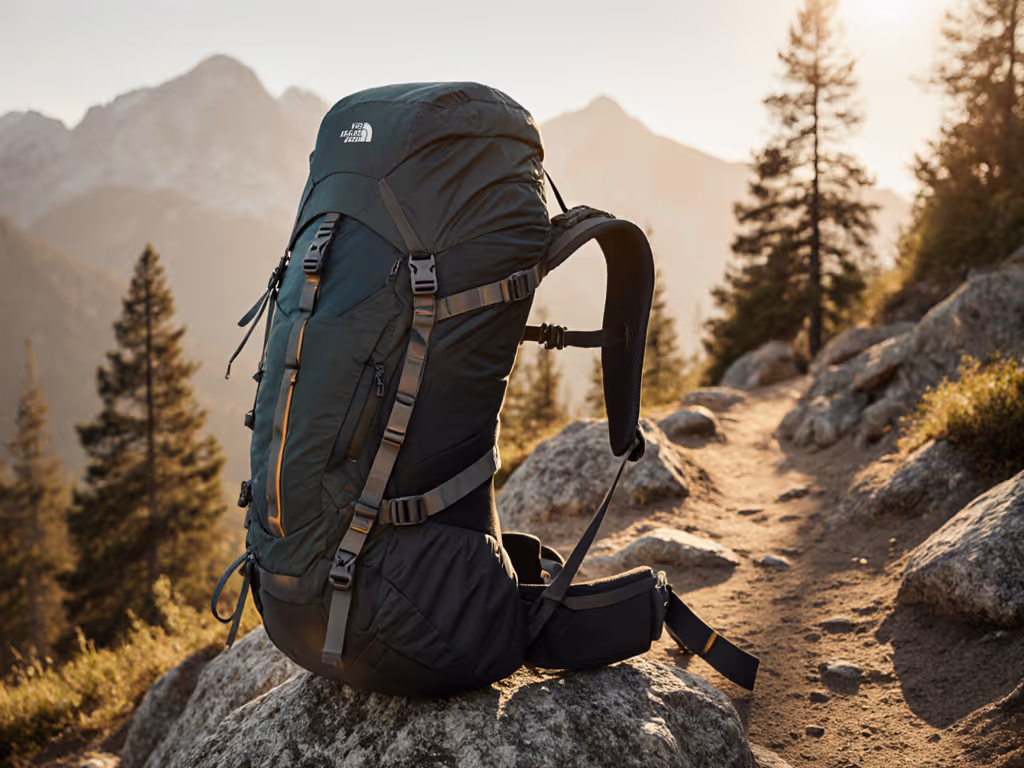
FAQ 4: What Scooter-Adapted Backpack Features Should I Prioritize?
Whether you're buying new or adapting what you own, look for these scooter-adapted backpack features:
1. Multiple, Strong Attachment Points
- Extra daisy chains, haul loops, and webbing tabs make it easier to clip or strap the pack to your scooter frame.
- Thick grab handles on top and sides help when lifting the bag on and off the seat.
2. Low-Snag Profile
- Narrower, more rectangular shapes catch less on brush or trail-side posts.
- Avoid excessive external straps or loose cords; trim or tuck them to prevent wheel interference.
3. Accessible Zippers & Pulls
- Large zipper pulls or cord loops are easier to use if fine-motor tasks are tiring or if you wear gloves.
- Double zippers allow you to position openings where you can reach from the seat.
4. Compression & Stability
- Side compression straps cinch down half-full loads so they don't sway or bulge outward.
- For side-mounted bags, compression is crucial to keep weight tight against the frame.
5. Weather Protection
- A rain cover or water-resistant fabric matters more on scooters, where the pack may be fully exposed while you stay under a poncho or umbrella.
- Drain grommets at the bottom of side pouches help if you ride through wet conditions.
6. Visibility & Trail Etiquette
- Reflective details help when crossing roads or rolling back to the car at dusk.
- Compact shapes and clearly visible outlines make it easier for others to pass safely on narrow trails.
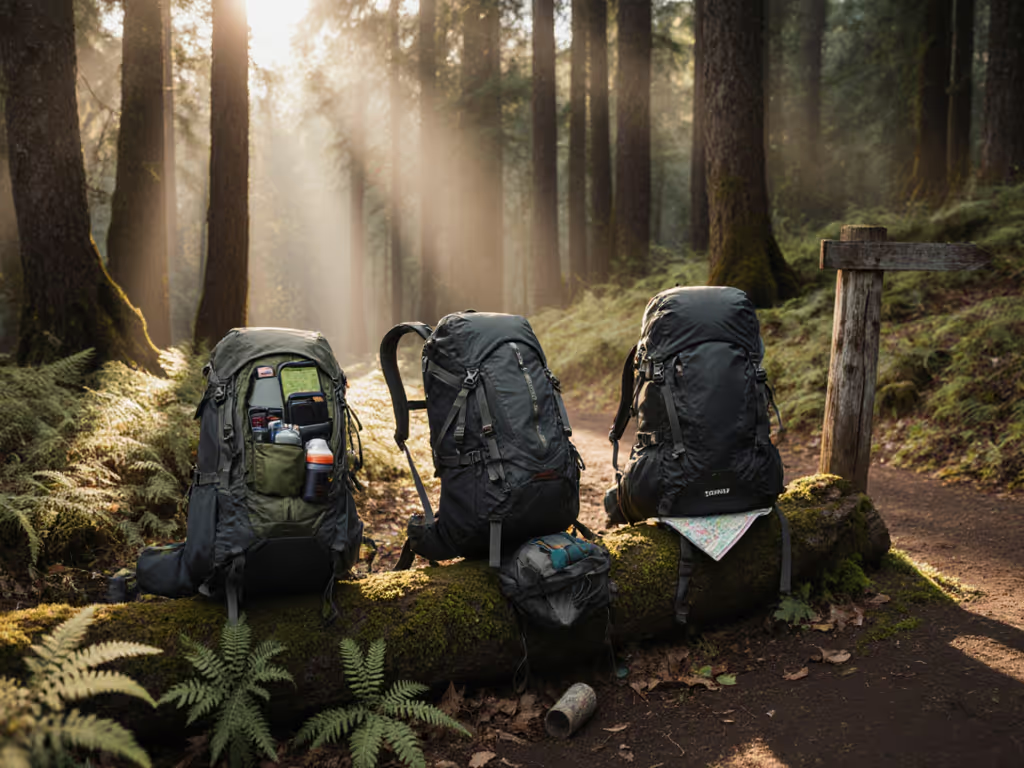
FAQ 5: How Should I Organize My Pack For Seated Hiking?
Adaptive trail pack organization is about reducing twisting and searching. Think in zones:
- Immediate Reach Zone (front / side) Best located in a front pouch, side pannier, or small chest/waist pack. Include:
- Phone or navigation device
- One or two snacks
- Lip balm, sunglasses
- A very small first-aid pouch or meds you might need quickly
- Frequent but Non-Urgent Zone (top of rear bag) In the top pocket of a backrest bag or trunk:
- Light layer or wind shell
- Sunscreen and bug spray
- Lightweight gloves or hat
- Bulk Storage Zone (main compartment of rear or rack bag) Here you stash weight:
- Water and filtration
- Extra clothes, sit pad
- Larger first-aid kit, repair kit
- Lunch and extra snacks
- Partner-Assisted Zone If you hike with a partner, agree on what they carry that you'll rarely access alone, like a heavy camera, big tripod, or shared cooking gear.
A simple test: sit in your scooter with everything loaded and see what you can reach without twisting. If you carry time-critical meds, our medical-condition backpack guide shows proven quick-access layouts that work from a seated position. If something essential is out of reach, reassign it to a closer zone.
FAQ 6: How Do I Modify a Standard Pack For Seated Hiking?
You don't always need a purpose-built "adaptive" model. Many riders start with backpack modifications for seated hiking using a regular hiking pack and a few thoughtful changes. For more one-handed strap tweaks and access mods, see backpack modifications for mobility aids.
Step 1: Simplify the Harness
- Loosen or remove the hip belt if it bunches between you and the seat. Some belts are removable; others can be wrapped around the seat back instead of your body.
- Relax the shoulder straps so they're not pulling your shoulders forward while seated.
Step 2: Add Attachment Straps
- Use short webbing straps with buckles or cam straps to anchor the pack to the seat frame or backrest posts.
- Aim for two to three connection points (top, mid, bottom) to prevent bouncing.
Step 3: Control Dangling Ends
- Roll and elastic-band excess strap tails.
- Route them away from wheels, motor, and throttle controls.
Step 4: Reorient the Pack
- Some riders prefer the pack slightly higher, so it rests just above the seat back and doesn't rub their lower back.
- Others prefer lower mounting onto a rear rack for better stability. Experiment with height in a safe, flat space first.
Step 5: Test, Then Refine
- Ride over mild bumps and small curbs to see where it shifts.
- Adjust strap lengths until the pack moves with the scooter instead of wobbling.
If your scooter manufacturer has guidance about attaching accessories, follow it, especially regarding weight limits on seat backs and racks.
FAQ 7: How Do I Fit Straps and "Torso Length" If I'm Mostly Seated?
Even if your scooter carries most of the weight, how the pack meets your body still matters. A few fit tweaks can turn "tolerable" into "unnoticed."
For Packs You Wear While Riding
- Start standing, then check seated.
- Adjust torso length and shoulder straps until the hip belt (if used) sits comfortably on your pelvic shelf while standing.
- Sit down in your scooter and notice what changes: does the hip belt ride up, dig, or twist? Does the pack collide with the seat back?
- Shift the load lower and closer.
- Slightly loosen the shoulder straps and snug the hip belt gently so the pack's weight settles into your pelvis, not your neck.
- If there are load lifter straps, keep them just lightly tensioned; you want the pack close, not pulling your shoulders forward.
- Prioritize a neutral spine.
- You should be able to rest against the seat without the pack forcing you to hunch.
- If you can't, that's a sign the pack should move off your body onto the scooter.
For Packs Mounted to the Scooter
You're essentially "fitting" the pack's torso to your scooter frame instead of your spine.
- Top anchor points act like shoulder straps, controlling the upper tilt of the pack.
- Lower anchor points act like a hip belt, pulling the base snug into the frame.
- The "torso length" is the vertical distance between these anchors; adjust it so the bag's bulk sits behind the seat rather than hitting your shoulders or wheels.
When everything lands correctly, your posture can soften. That small exhale you feel when nothing digs, pulls, or pinches? That's your body recognizing that fit is respect.
FAQ 8: What About Safety - Tipping, Clearance, and Weather?
Tipping & Stability
- Keep heavier items low and centered, near the axle, not high behind the headrest.
- Avoid lopsided side loads; if you use one pannier, counterbalance with something light on the other side.
- Know your scooter's weight and rack/seat limits; stay well within them on rough trails.
Clearance
- Check how far your rear bag extends: does it shorten your ability to climb small ledges?
- On a quiet path, slowly ride close to a wall or railing to gauge side clearance for panniers.
Weather
- Use a rain cover and waterproofing techniques for any externally mounted pack or pouch.
- Consider dry bags inside your main compartment for doubly important items (electronics, meds, dry layers).
Test all of this somewhere low-risk (a park path, a gravel road) before taking it to technical trails.
FAQ 9: How Can I Test My Setup Before a Big Trail Day?
Think of this as a gentle shakedown process:
- Indoor or driveway test
- Load the pack with your expected weight.
- Sit, turn the handlebars fully, lean slightly side to side. Note any rubbing or catching.
- Neighborhood loop
- Ride for 20-30 minutes at relaxed pace.
- Check straps mid-way: have any loosened? Are there new hot spots against your back or arms?
- Short, easy trail
- Add mild roots, gravel, or small slopes.
- Notice if the scooter feels more top-heavy or if steering feels sluggish.
- Refine, then extend
- Adjust one variable at a time: pack height, anchor tension, or what's stored where.
- Once it feels predictable, gradually extend distance and difficulty.
You deserve confidence before you're three miles out.
FAQ 10: Quick Questions
Q: Can I use a hydration bladder with a scooter-mounted pack? Yes. Route the hose along the seat frame or armrest, securing it with small Velcro wraps. Position the bite valve where you can reach it without leaning. For reservoir sizing, hose routing options, and cleaning tips, see our hydration pack fit guide.
Q: What if I switch between walking and riding on the same outing? Use a small, comfortable on-body pack (or waist/chest pack) for core essentials and mount bulkier items on the scooter. When you park and walk, you're not suddenly without the basics.
Q: Are ultra-minimal packs a good idea here? Often, no. With scooters, broad adjustability and multiple attachment points are more valuable than shaving every gram. You're optimizing for control and comfort, not just weight.
Summary and Final Verdict
Choosing the best adaptive backpacks for mobility scooters on trail isn't about finding one perfect, niche product, it's about building a system that:
- Lets the scooter carry most of the weight safely and stably.
- Keeps your posture relaxed and shoulders free from constant pull.
- Puts essentials within easy reach so you're not twisting or overreaching.
- Respects your energy, comfort, and the way you move.
In practice, that usually means:
- A rear-mounted pack or rack bag for bulk storage and heavier items.
- One or two side or front pouches for on-the-move access.
- A small on-body pack for identity, phone, and irreplaceable essentials.
Start with what you have, add a few thoughtful backpack modifications for seated hiking, and let real-world rides guide your fine-tuning. Your goal isn't to match a catalog photo; it's to create a setup where your gear disappears into the background and the trail comes forward.
Fit that respects your body feels like permission.
When your pack and scooter finally work with you, not against you, the difference is immediate, like the moment a mirror shows not just a different posture, but a different possibility. That's the trail telling you: you belong here, exactly as you are.
Related Articles