Backpack Hydration Packs: No-Fail Fit Guide
By Aisha Al-Rashid • 3rd Oct
When you're carrying every drop of water on your back, the right backpack hydration pack makes miles feel lighter. But too many hikers struggle with shoulder strain, hipbelt slip, or fumbling with awkwardly placed hydration-reservoir-compatible packs that drain joy from the trail. As a community hike leader, I see it daily: beginners apologizing for being slow while wrestling with gear that doesn't fit their body. On a first-overnight I led, a nervous hiker apologized for being slow. We paused, lifted their load a hair off the shoulders, rebalanced water, and laced the hipbelt snug. Ten minutes later they were chatting about birds. That moment taught me: Start with comfort; confidence makes the miles easier. This guide walks you through seven body-first fit checks (no jargon, no fear tactics), just practical steps to match your frame to a pack that moves with you. One change at a time.
Why Fit Matters More Than Liters
Forget "average" torso lengths or one-size-fits-all claims. Your body's unique geometry (short or long torso, broad shoulders, full chest, straight or curvy hips) dictates how a pack actually carries weight. A poorly fitted system transfers strain to shoulders instead of hips, shifts during scrambles, or makes reaching water frustrating. The fix isn't brute force; it's informed adjustments. Below are field-tested checks I use with my first-timer groups. Each builds on the last, like fitting puzzle pieces. Do them in order:
1. Measure Your Torso Your Way
Skip the ruler-on-the-back trick. Real trail movement matters more than static numbers. Here's how to self-check:
- Step 1: Stand naturally (not rigidly straight). Have a friend trace a C-shaped curve from the top of your shoulders (C7 vertebra) down to your iliac crest (top of hip bones).
- Step 2: Measure along that curve with a flexible tape. This mirrors how packs sit when you're hiking downhill or leaning forward.
- Step 3: Compare to pack specs only after testing. Many brands (like Osprey) offer S/M/L torso ranges; others (like Gregory) use adjustable harnesses. Key insight: If the pack's harness feels tight across your shoulders before loading water, it'll pinch when you're sweaty. Leave space for layers and natural movement. For step-by-step adjustment, see our load lifter straps guide.
Pro tip: Torso length isn't destiny. A 16-inch torso hiker might fit a "small" pack poorly if the load lifter angle clashes with their slope. Always test with weight.
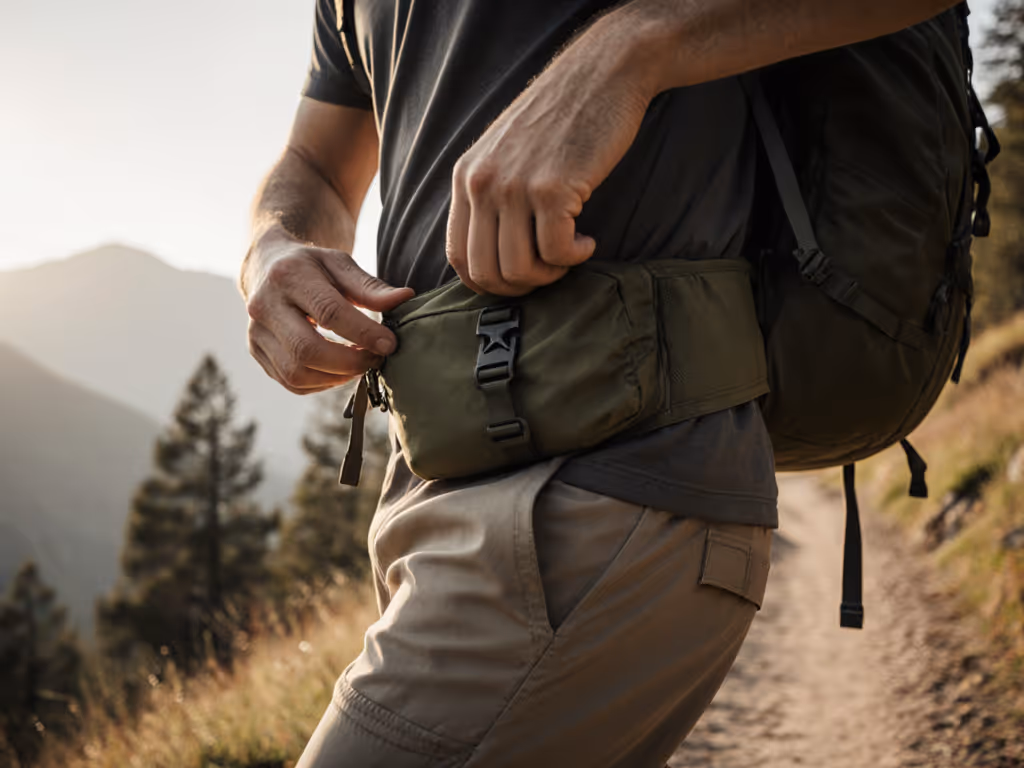
2. Hipbelt: Your Load's True Anchor
Your hips, not shoulders, should carry 80% of the weight. Yet most beginners wear hipbelts too high, riding on ribs instead of pelvis.
- Check placement: Buckle the hipbelt without shoulder straps. Slide it down until the top edge sits just above your hip bones. It should wrap 45 degrees toward your spine, not sit flat across the front.
- Test stability: Load 15-20 lbs (sandbags or water bottles). Walk briskly then stop abruptly. If the belt rides up or twists, rebuckle tighter and reposition it lower. A dialed-in belt stays put during scrambles.
- For body diversity: Curvy hips? Seek belts with contoured padding (like Osprey's adjustable Talon series). Straight waists? Prioritize belts with wide adjustment range (10+ inches). Never let sales pressure you into "unisex" as default, because many brands now offer women-specific curves that hug top-to-bottom.
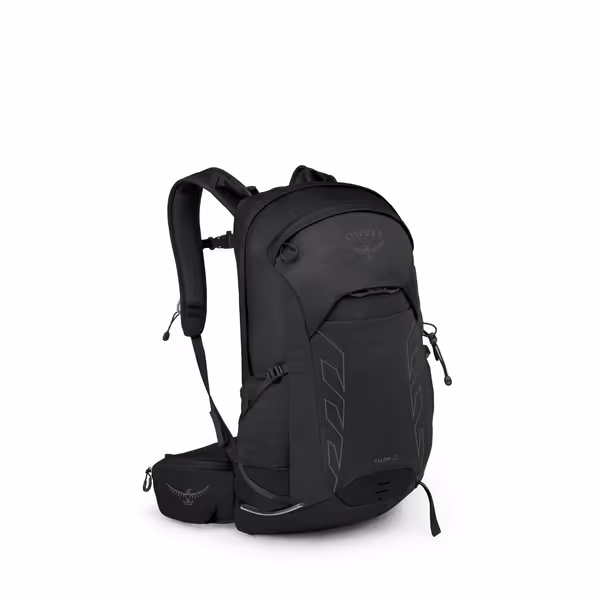
Osprey Talon 22L Lightweight Hiking Backpack
Versatile, lightweight pack with customizable fit for dynamic outdoor activities.
$170
Item Weight2.38 lbs
Item Weight2.38 lbs
Pros
Precise, breathable AirScape suspension for close-to-body comfort.
Micro-adjustable fit adapts to diverse body types and loads.
Surprisingly roomy 22L capacity for day or overnight trips.
Cons
Only 22L, not suitable for multi-day heavy loads.
Hipbelt pockets may be limited for some users.
Customers find this backpack well-made and comfortable, with one mentioning the adjustment straps make it extremely comfortable. They appreciate its size, noting it's surprisingly roomy for its 22L capacity, and find it very light. They like its portability, with one customer mentioning it's great for day or overnight hikes.
Customers find this backpack well-made and comfortable, with one mentioning the adjustment straps make it extremely comfortable. They appreciate its size, noting it's surprisingly roomy for its 22L capacity, and find it very light. They like its portability, with one customer mentioning it's great for day or overnight hikes.
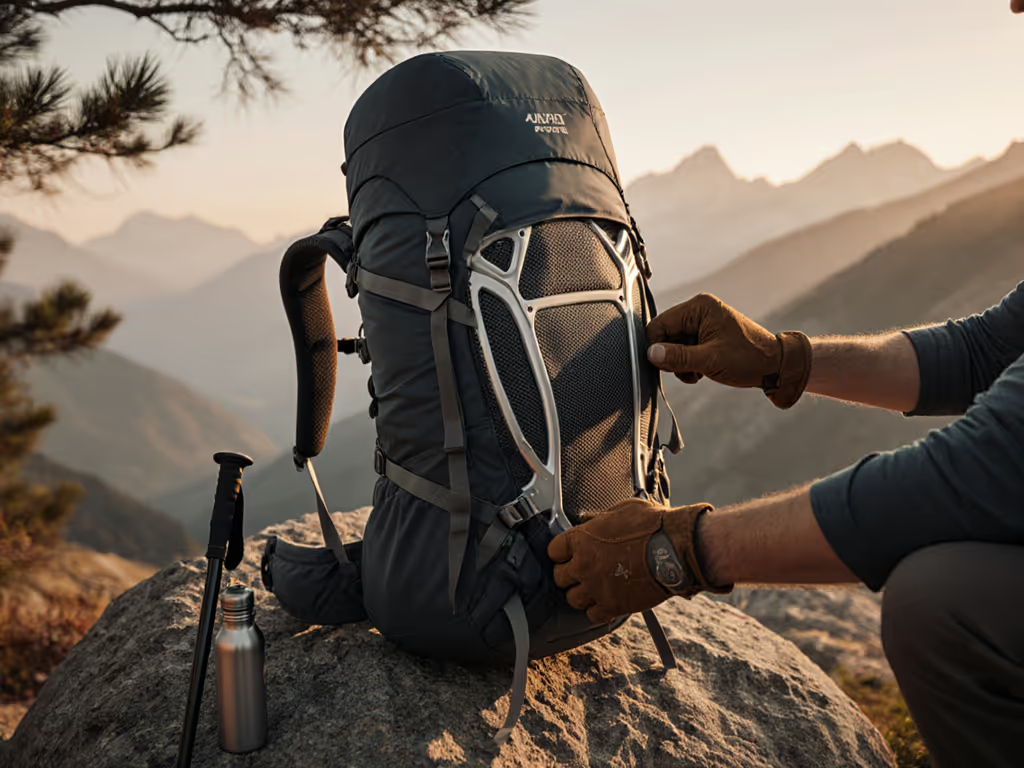
3. Shoulder Straps: Support Without Squeeze
Good straps hug without digging into collarbones or pressing on chest tissue. Critical checks:
-
Gap test: With hipbelt secured, pull shoulder straps snug. You should fit two fingers between strap and shoulder at the collarbone. Any tighter = nerve pressure later.
-
Sternum strap fix: Position it below chest tissue (not over bustline). It should angle slightly upward toward shoulders (not horizontal) to transfer weight inward, not compress lungs.
-
Adjustment hack: If straps slide off broad shoulders, twist them outward slightly before buckling. On narrow frames, criss-cross the straps behind your back (if the pack allows) for better grip.
Osprey's Talon 22 shines here with its continuous-wrap harness and micro-adjustable yoke. Its straps pivot with torso rotation, critical for side-hilling or reaching for water.
4. Hydration Integration: No More Hose Wrestling
A hydration pack bladder that's hard to load, clean, or access kills momentum. Avoid these pitfalls:
-
Reservoir pocket depth: Should end above your waistline. If it dips below the hipbelt, the bladder's weight pushes the belt down. Test with a full reservoir. Does it feel top-heavy?
-
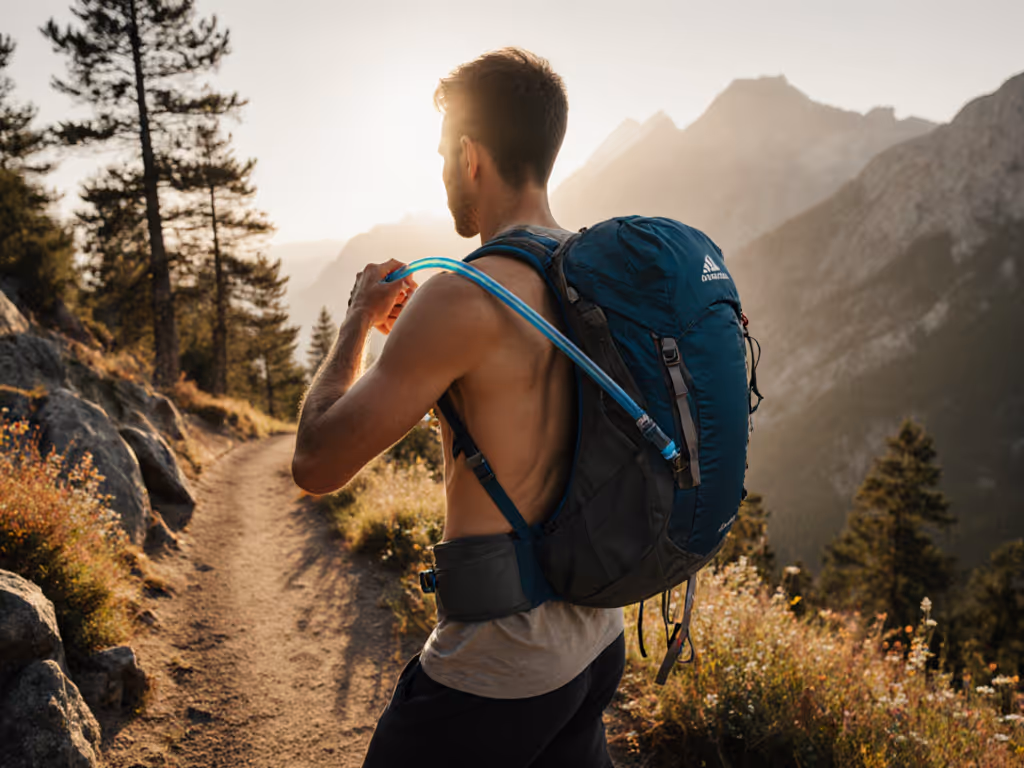
Hose routing: Ideal path runs over the shoulder strap (not under), with a magnet clip on the sternum strap. No more fishing for the bite valve mid-hike! The Gregory 3D Hydro reservoir's magnetic clip (and rigid spine) makes this seamless.
-
Cleaning access: Wide-mouth openings (like HydraPak's) dry faster than narrow spouts. If you hate disassembling hoses, prioritize reservoirs with inline quick-disconnects, so you can refill without unthreading from harness.
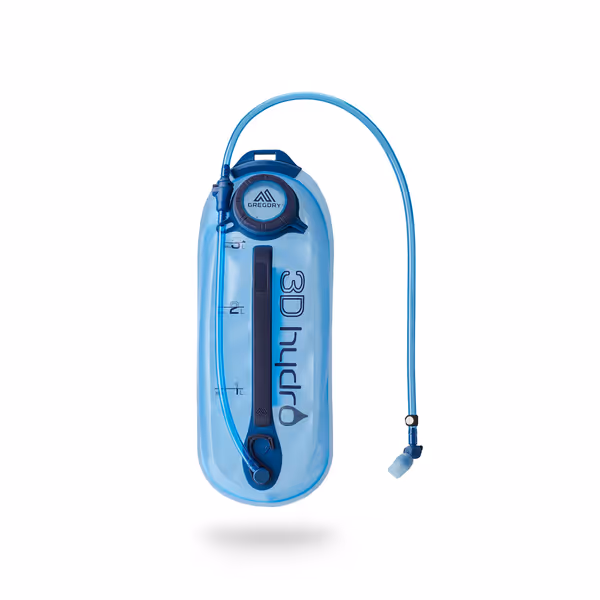
Gregory 3D Hydro 3L Hydration Reservoir
Quick-drying, stable, and easy-to-use hydration for comfortable trail adventures.
$52.95
Capacity3 Liters
Capacity3 Liters
Pros
3D design prevents layer contact, dramatically speeding dry time.
Baffled for anatomical fit, distributing weight flat for stability.
Quick-disconnect hose and magnetic bite valve simplify use.
Cons
Requires specific Gregory packs for SpeedClip system.
It's a solid product, performs well -- used it hiking in Rocky Mountain National Park. Magnetic attachment is amazing.
It's a solid product, performs well -- used it hiking in Rocky Mountain National Park. Magnetic attachment is amazing.
5. Pocket Sense: Trail-Tested Organization
Pocket chaos wastes energy. Organize like you hike, not like a catalog:
-
Hipbelt pockets: Must fit your phone without pressing on hips. Test with gloves on (can you grab snacks smoothly?).
-
Water bottle access: Side pockets should sit outside hipbelt range. If you're leaning forward on steep climbs, bottles shouldn't jab your thighs.
-
Hydration quick-check: Zipper pulls should be glove-friendly. When I mentor new hikers, we practice "thirst drills" in parking lots, and we ask: can they refill the reservoir in under 30 seconds?
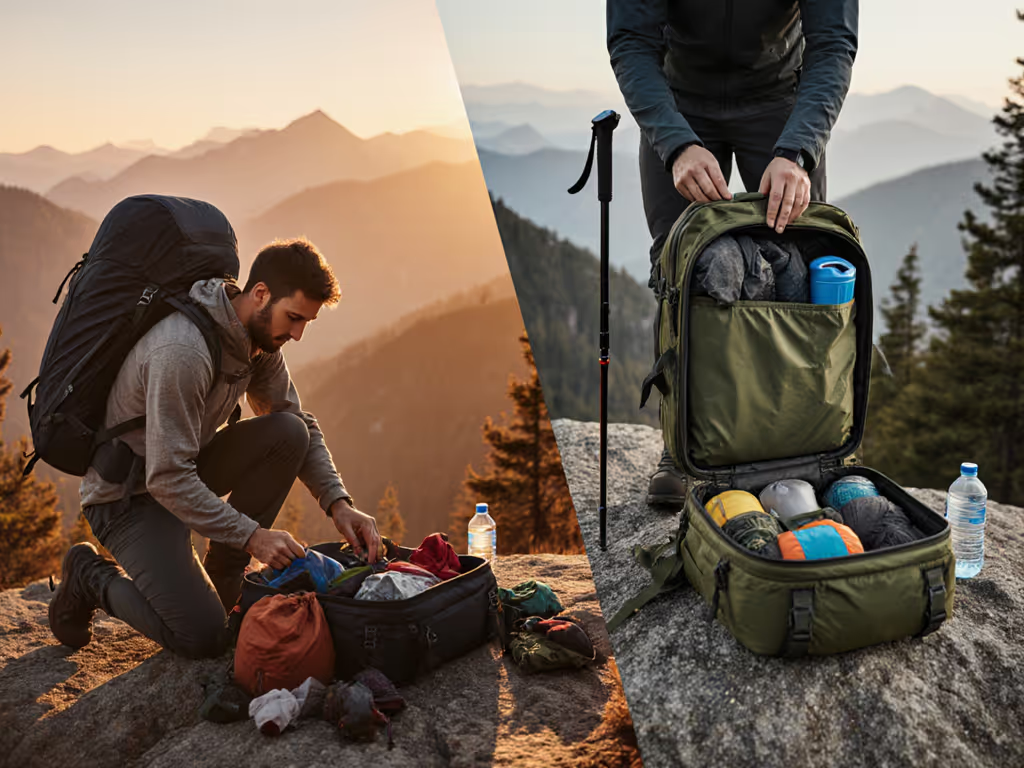
6. Load It Like You're Living It
In-store try-ons with 10 lbs lie. Trail weight behaves differently:
-
Weight test: Pack your actual day-hike load (water, food, rain shell). For hydration-reservoir-compatible packs, fill the bladder to capacity, since water weight shifts dramatically as you drink.
-
Movement check: Simulate trail stresses: lean side-to-side, squat, twist your torso. Does the pack stay centered? If straps dig during squats, the frame may be too stiff for your spine.
-
Humidity hack: Wipe your back with a damp cloth before testing. Sweat changes how fabric grips skin (critical for avoiding "swim trunks" syndrome in summer).
7. Your Field Confidence Checklist
Before buying, run this 5-minute field test:
- Walk test: Load pack. Walk 50 steps uphill. Shoulders shouldn't burn.
- Hydration check: Take 3 sips without removing hands from trekking poles.
- Stability test: Jog 10 steps on flat ground. Pack shouldn't bounce.
- Access test: Retrieve water bottle mid-stride. No hipbelt fumbling.
- Breathe check: Pause after climbing. Back panel shouldn't trap sweat pools.
If any fail, adjust straps or try a different size. Remember: Comfort isn't a luxury, it is what lets you notice birdsong, not body aches.
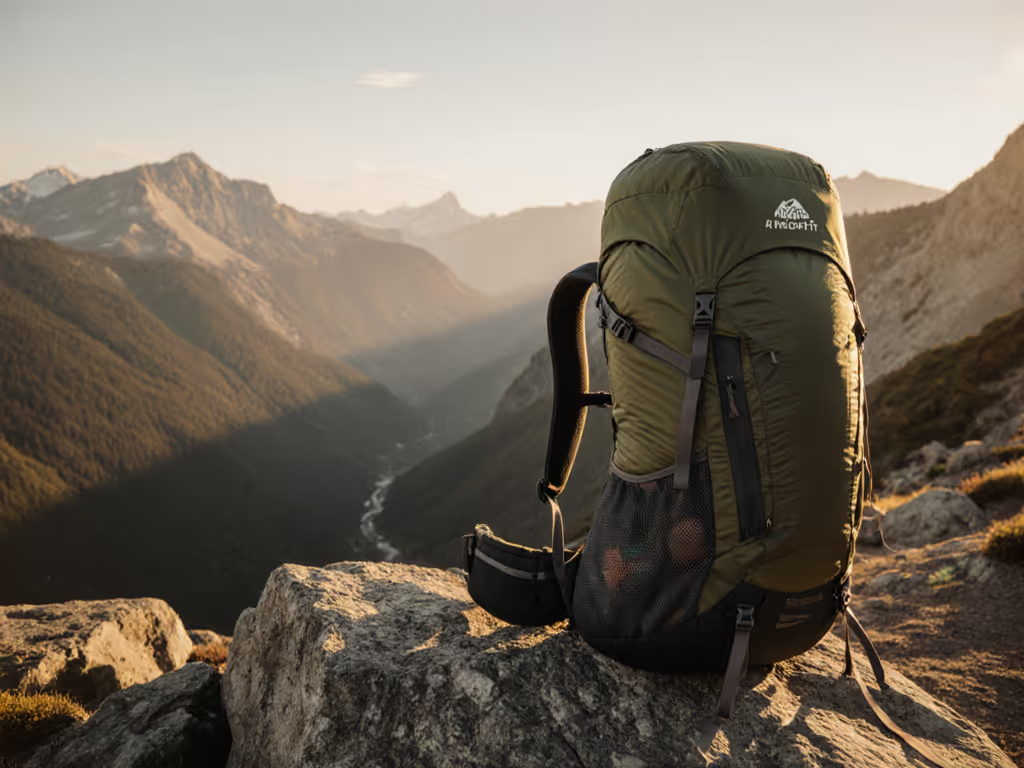
The Joy Is in the Journey
I keep that first-overnight moment close whenever I recommend gear: small adjustments (one change at a time) turn struggle into flow. Your perfect backpack hydration pack isn't about specs; it's about how it feels when you're watching sunrise from a ridge, water close at hand, body moving as one with the trail. Trust your body's feedback over online reviews. Try packs with your actual load. And when in doubt? Pause, rebalance, and lace that hipbelt snug. Confident miles await.
Related Articles