Hiking Gear Solutions for Every Specialty: How to Choose and Organize Packs for Seniors, Photographers, and More
By Kwame Adu • 22nd Oct
Finding hiking gear solutions that truly fit your body and your mission is the difference between a joyful day outside and a grind that ends early. The right backpack should move with you, carry weight efficiently, and keep essentials at your fingertips without forcing constant stops. Yet many hikers, from first timers to experts, struggle with hot spots, shoulder bite, and a pack that sways when the trail tilts. This guide unpacks the essentials for seniors, photographers, climbers, and anglers, and shares the precise steps Hiking Pack Fit uses to guide readers toward packs that improve comfort and performance.
Along the way, you will see how small details, like the angle of your load lifters or the placement of a camera cube, can cut fatigue and sharpen your focus. We will show modular layouts that shrink decision fatigue, so your bag stays calm even when the day gets chaotic. And because budgets and values matter, we will highlight durable and repairable designs that reduce waste and save money over time. Ready to dial in your pack so it feels custom built for you and your specialty?
Why Fit Matters: The Science Behind Comfortable Carry
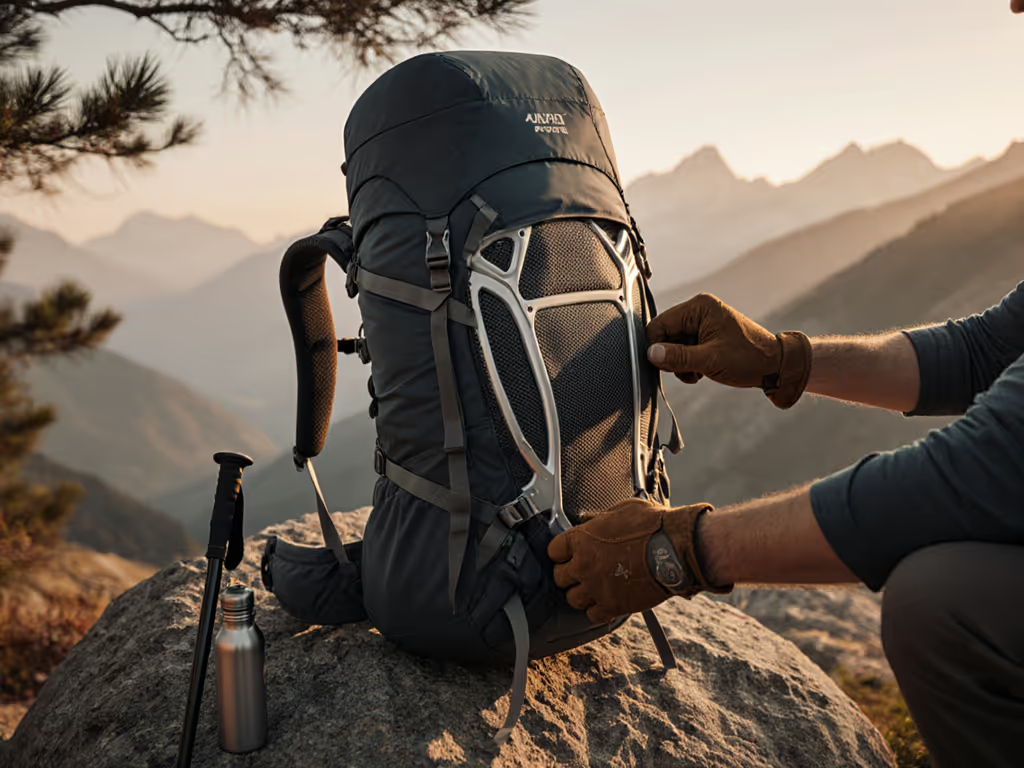
Backpack comfort begins with load transfer, the process that shifts weight from your shoulders onto your hips where your skeleton is strongest. Sports biomechanics research suggests that moving even 60 to 80 percent of pack mass to the hips can reduce shoulder pressure and perceived exertion noticeably during long climbs. When a pack’s frame, hip belt, and harness are tuned to your torso length and hip shape, your center of gravity stays closer to your body, which improves balance on switchbacks and uneven steps. Not sure about sizing? Start with our torso length measurement guide so the frame actually fits. A good fit also stabilizes water, lenses, or hardware that might otherwise swing and sap your energy with each stride.
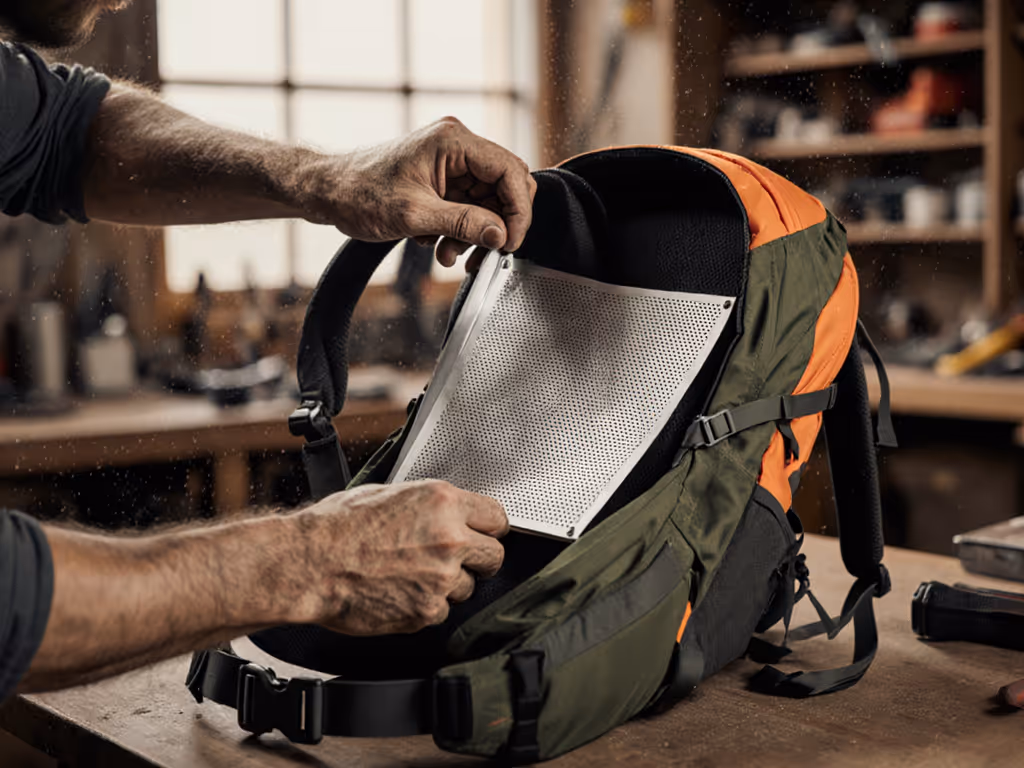
In practical terms, look for frames that match your torso length, hip belts that seal around your iliac crest, and shoulder straps that curve without pinching your neck. A properly placed sternum strap reduces shoulder spread and can improve breathing comfort by keeping straps centered on your chest. Compression straps and an internal frame sheet work together to eliminate dead space, which helps keep heavier items upright and close to your spine. These fundamentals apply whether you are hoisting a light day kit or carrying tripods, fly boxes, or a rope.
Hiking Gear Guidance by Specialty: Seniors, Photographers, Anglers, and Climbers
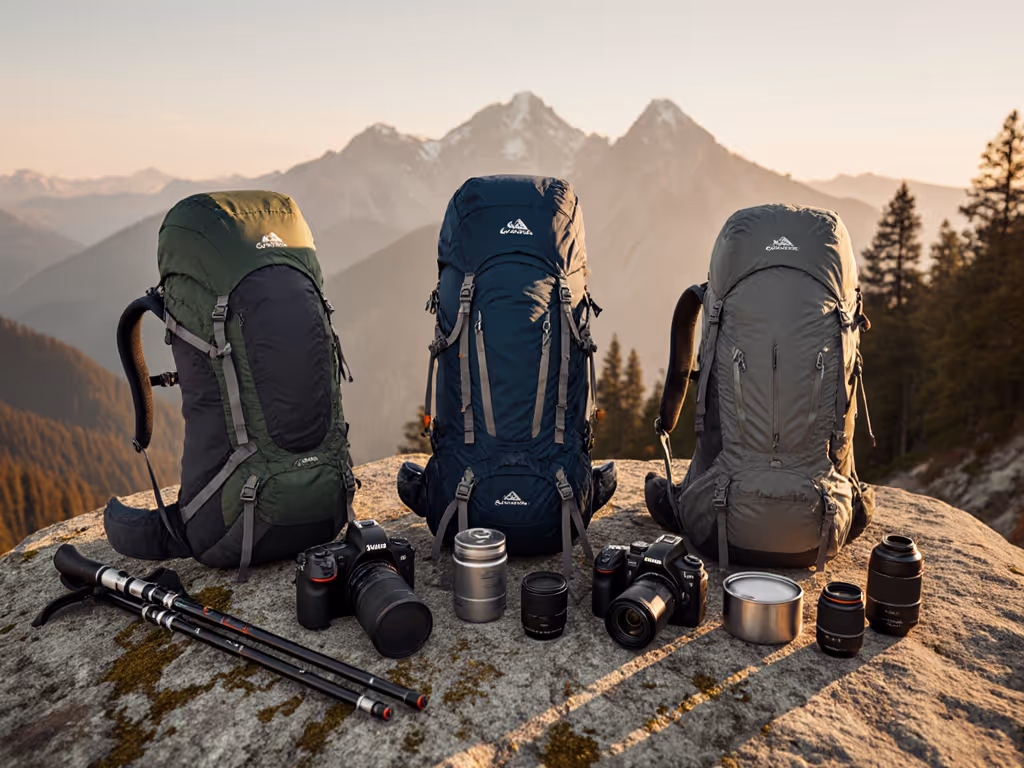
Different adventures demand specific layouts, so the smartest gear guidance starts with your activity and the way you move on trail. Seniors often benefit from lighter frames with softer shoulder foam and generous lumbar padding that reduces pressure points over hours of wear. For model suggestions tested with older hikers, see our senior-friendly hiking backpacks. Photographers need fast, single-handed access to a camera without removing the pack, plus padded modular cubes that protect lenses and drones. Anglers want wet and dry separation, long side pockets for rod tubes, and tool docking points that do not tangle line, while climbers favor close-to-body carry, abrasion resistance, and clean exterior lines that do not snag on rock.
Watch This Helpful Video
To help you better understand hiking gear solutions, we've included this informative video from Chase Mountains. It provides valuable insights and visual demonstrations that complement the written content.
Hiking Pack Fit distills these needs into actionable configurations that you can test and refine. Our diverse fit database connects your torso and hip dimensions to pack shapes that have worked for people with similar builds and goals. Field tests verify which harness styles resist slippage when you scramble, which zippers are easiest in gloves, and which fabrics are both durable and repairable after seasons of use. Below, compare the core traits by specialty to choose your starting point and then tune the details to your body.
| Specialty | Key Fit Priorities | Organization Must-Haves | Durability Considerations |
|---|---|---|---|
| Seniors | Soft shoulder foam, supportive hip belt, easy-adjust harness, stable frame | Top quick-access pocket, on-strap pockets for snacks and meds, simple internal layout | Reinforced seams, replaceable hip belt, repairable buckles and zippers |
| Photographers | Chest and hip load stability, balanced weight distribution, quick side entry | Padded camera cube, side zip access, tripod carry low and centered | High-denier fabrics, foam that holds shape, replaceable hardware |
| Anglers | Freedom of shoulder movement, water-resistant compartments, tool docking | Wet/dry zones, long side sleeves for rod tube, small tool loops up front | Water-resistant materials, drain grommets, corrosion-resistant hardware |
| Climbers | Close-to-body fit, secure hip belt that does not conflict with harness | Minimal exterior straps, rope strap up top, helmet carry that does not sway | Abrasion patches, simple repairable closures, reinforced haul points |
Notice how each column focuses on comfort, access, and long-term resilience together, rather than treating them as tradeoffs. For example, photographers can center a tripod to prevent torque that twists the hips and increases knee strain on descents. Seniors can prioritize hip belt shapes that hug the iliac crest and add a lumbar wedge, which often improves posture and reduces back fatigue by encouraging a neutral spine. Climbers and anglers both keep snag points to a minimum, yet each uses accessory ports differently to keep hands free and movement fluid.
Measure, Match, and Adjust: The Pack Fitting Workflow
Great fit starts with great measurements that you can take at home in five minutes. Measure torso length from your C7 vertebra, the bony bump at the base of your neck, down to the midpoint between the top of your iliac crests, then note your waist and hip circumference where a hip belt will sit. Hiking Pack Fit’s diverse fit database compares your numbers to thousands of real-world matches, so you can shortlist frames and harness shapes that have worked for people like you. This reduces guesswork and speeds up the part that most hikers find frustrating and expensive.
After you pick a size, adjust in this order: set the hip belt so it cradles the iliac crest, snug and centered, then tighten shoulder straps until they pull the pack to your back without collapsing the padding. Next, fine tune load lifters to angle between 30 and 45 degrees so the top of the pack settles into your shoulders rather than tilting away, and close the sternum strap just enough to keep straps from splaying. For a deeper walkthrough, see our load lifter adjustment guide to nail that 45-degree angle. Finally, compress side straps to eliminate voids, and shake-test with a few hops and a short stair climb. If the pack stays quiet and your breathing feels unimpeded, you are close to perfect.
| Step | What to Check | Target Outcome | Common Fix |
|---|---|---|---|
| 1. Hip Belt | Centered on iliac crest, even tension | 60 to 80 percent weight on hips | Try shorter torso setting or thicker lumbar pad |
| 2. Shoulder Straps | Contact without pinching neck | No shoulder bite, full arm mobility | Adjust strap angle, swap to S or J curve if available |
| 3. Load Lifters | Angle between 30 and 45 degrees | Top of pack rests in, not away from body | Raise or lower frame, change anchor position |
| 4. Sternum Strap | Centered across chest, light tension | Straps stable, chest expands freely | Slide rail up or down, reduce tension |
| 5. Compression | Side straps remove dead space | Quiet pack, reduced sway | Repack heavy items higher and closer to spine |
If you use electronics like a Global Positioning System (GPS) device or a power bank, route cables before final compression so nothing snags when you pull a jacket. Try a five minute local loop with small ascents, then evaluate hot spots and your breathing rhythm, because comfort shows up as even pressure and easy posture. When the basics land, set and forget your baseline position by marking webbing with a tiny stitch or piece of thread you can remove later. This simple move preserves muscle memory between trips and makes it quicker to build your kit on busy mornings.
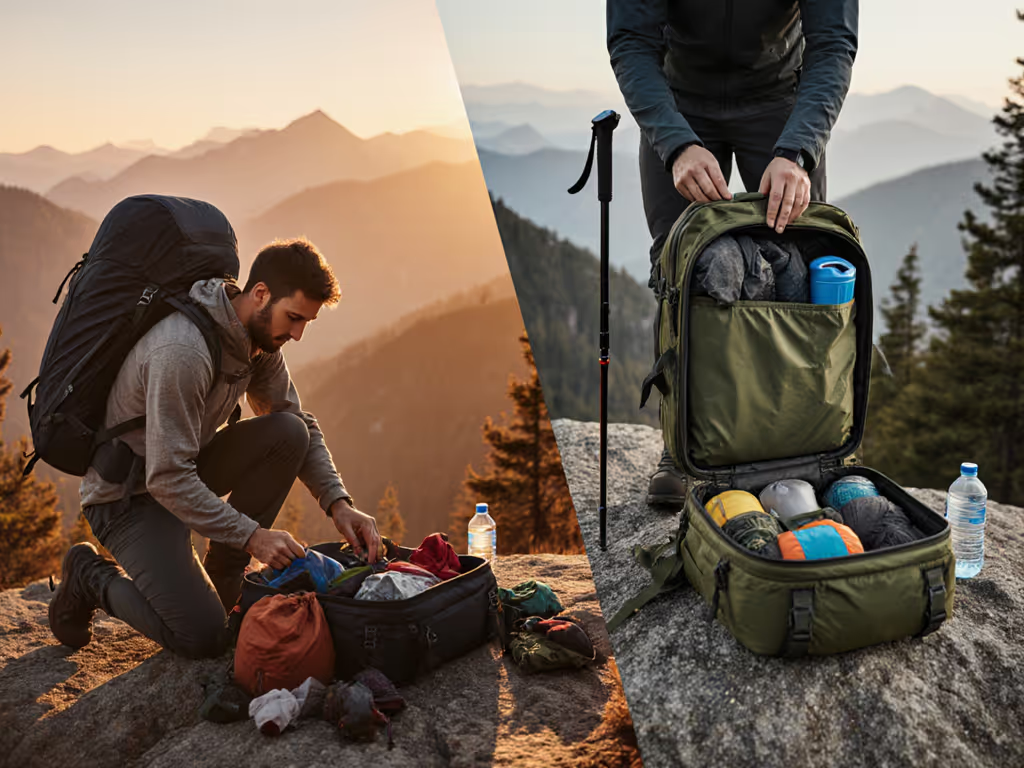
Organize Like a Pro: Load Zones, Modular Inserts, and Quick Access
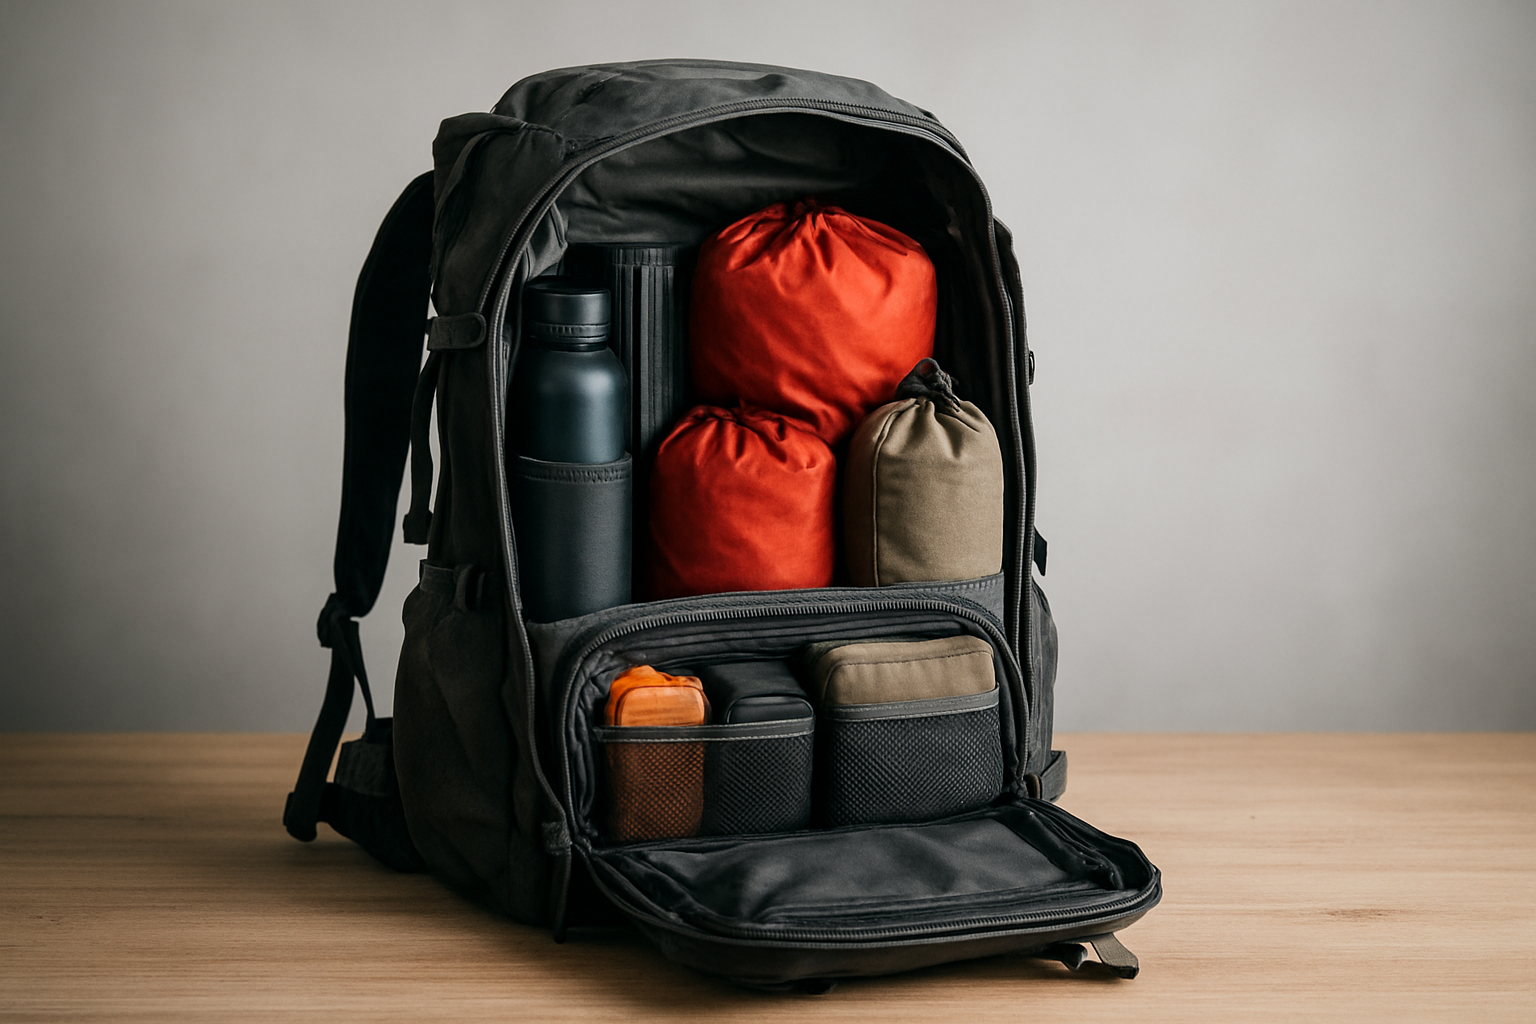
Organization should feel intuitive, so you can reach for what you need without thinking, and that begins with a few reliable load zones. Place dense items like water and lenses high and close to the spine to reduce torque that wants to pull you backward, and keep soft items like layers along the back panel as a cushion. For step-by-step packing strategies, use our weight distribution guide to keep the load quiet and stable. Use a camera cube or padded insert as a structural element, not just protection, so it supports the frame and resists collapse that can cause shoulder bite. Finally, assign small but critical items to fixed locations that never change, for example lip balm in the left strap pocket and headlamp in the top lid, because consistency removes micro-decisions and calms the day.
For photographers, side-access zips let you swing the pack to the front and grab a camera with one hand, a setup our field tests show can cut stop time by up to 50 percent when wildlife appears. Anglers can use a wet pocket with drain grommets for a stripped jacket so the rest of the kit stays dry, and a front tool patch for nippers and hemostats that will not clash with line. Seniors may favor larger zipper pulls and high-contrast interior liners that make small items easier to see in flat light, plus shoulder strap pockets that keep snacks and medication within one step of your eyes. Climbers can run a minimalist layout with a rope under the lid, helmet fixed low to minimize sway, and gloves in a stretchy front pocket that opens even with tape on fingers.
- Top zone: map, headlamp, first aid, emergency layer, and food for the next two hours.
- Core zone: dense items like water, camera cube, stove, bear canister, or rope, centered and high.
- Front and side: wet items, quick stash layers, tripod or rod tube, trekking poles, tool patch.
- Harness and belt: snacks, sunscreen, lip balm, phone or Global Positioning System (GPS), compact filter.
Materials, Durability, and Repair: Buy It Once, Fix It Forever
Longevity is a performance feature, and repairability is the fastest way to lower lifetime cost and environmental impact while keeping your pack trail ready. Our field data shows that reinforced high-wear panels, bartacked webbing, and quality zippers reduce failure rates significantly over multi-season use, especially when paired with simple, modular parts you can swap. Fabrics like high-denier nylon and laminated composites fight abrasion, yet what matters most is how panels are positioned and whether hardware is replaceable or stitch-friendly. Hiking Pack Fit evaluates these details in lab and field, verifying which packs accept new buckles and foam, which adhesives hold patches, and how simple it is to fix a side release in camp.
Seniors and anyone on tight budgets benefit from repairable designs because they extend service life far beyond a single warranty cycle. Photographers and climbers appreciate the confidence that comes from hardware that can be replaced with a tiny field kit consisting of a buckle, webbing needle, and cord. Anglers will see value in corrosion-resistant components and drain points that prevent mildew, and everyone wins with fabrics that do not fray when trimmed. When you choose durable and repairable packs verified by field tests, you are buying time on trail, not just fabric and foam, and you are choosing control over your comfort across the next thousand miles.
- Look for replaceable buckles, removable hip belts, and modular shoulder straps.
- Prefer simple, proven closures over exotic mechanisms that are hard to fix.
- Carry a repair micro-kit: needle, heavy thread, tenacious tape, spare buckle, and mini cord.
- Rinse zippers and drain pockets after sandy or salty trips to slow wear.
Data-Backed Picks and Real-World Scenarios from Hiking Pack Fit
Hiking Pack Fit blends lab-backed measurements with field notes to validate what actually works for specific bodies and specialties, then we translate those insights into clear recommendations. In testing, we find that packs with curved shoulder straps often fit narrower frames better, while S-shaped straps can relieve collarbone pressure for many seniors and photographers carrying heavier loads. Balanced tripod placement and centered water weight reduce sway on downhill steps, which our testers describe as noticeably less knee wobble after long descents. By comparing your measurements to our diverse fit database, we recommend harness shapes and hip belt styles with a high likelihood of comfort and stability for your exact body type.
Consider three real hikers as case studies you can borrow from. A 68-year-old day hiker with a shorter torso and sensitive shoulders swapped to a pack with softer foam and a slightly shorter frame, then added a small lumbar wedge, a change that improved posture and reduced back tightness after eight miles. A wildlife photographer stabilized a heavy lens by centering the camera cube and lowering the tripod platform, cutting stop time and eliminating shoulder hot spots on windy ridges. A weekend climber cleaned up snag points by moving excess straps inside the pack and used a simple rope strap, which made chimney moves easier and kept the load quiet on approach slopes.
| User Profile | Problem | Hiking Pack Fit Solution | Outcome |
|---|---|---|---|
| Senior Day Hiker | Shoulder pain, unstable load | Softer shoulder foam, shorter frame, lumbar wedge, strap pocket snacks | Less shoulder pressure, steadier pace, easier posture |
| Wildlife Photographer | Slow access, tripod torque | Side access zip, centered cube, low tripod mount, sternum strap tweak | Faster shots, balanced carry, reduced fatigue |
| Weekend Climber | Snaggy exterior, hip belt conflict | Minimal exterior straps, rope under lid, slim belt above harness | Freer movement, quieter pack on scrambles |
If you shop locally at Recreational Equipment, Inc. (REI) or another outfitter, take this workflow with you and use a stair or ramp to simulate trail conditions before you buy. When you get home, repeat adjustments with your actual equipment, because water, lenses, or a rope change how the frame sits and how foam compresses. Recheck after your first hike and make one small change at a time so you can feel the difference and avoid chasing noise. In the end, a few precise tweaks beat a pile of gear changes, and the right guidance saves both time and money.
Essential Add-ons That Elevate Comfort and Control
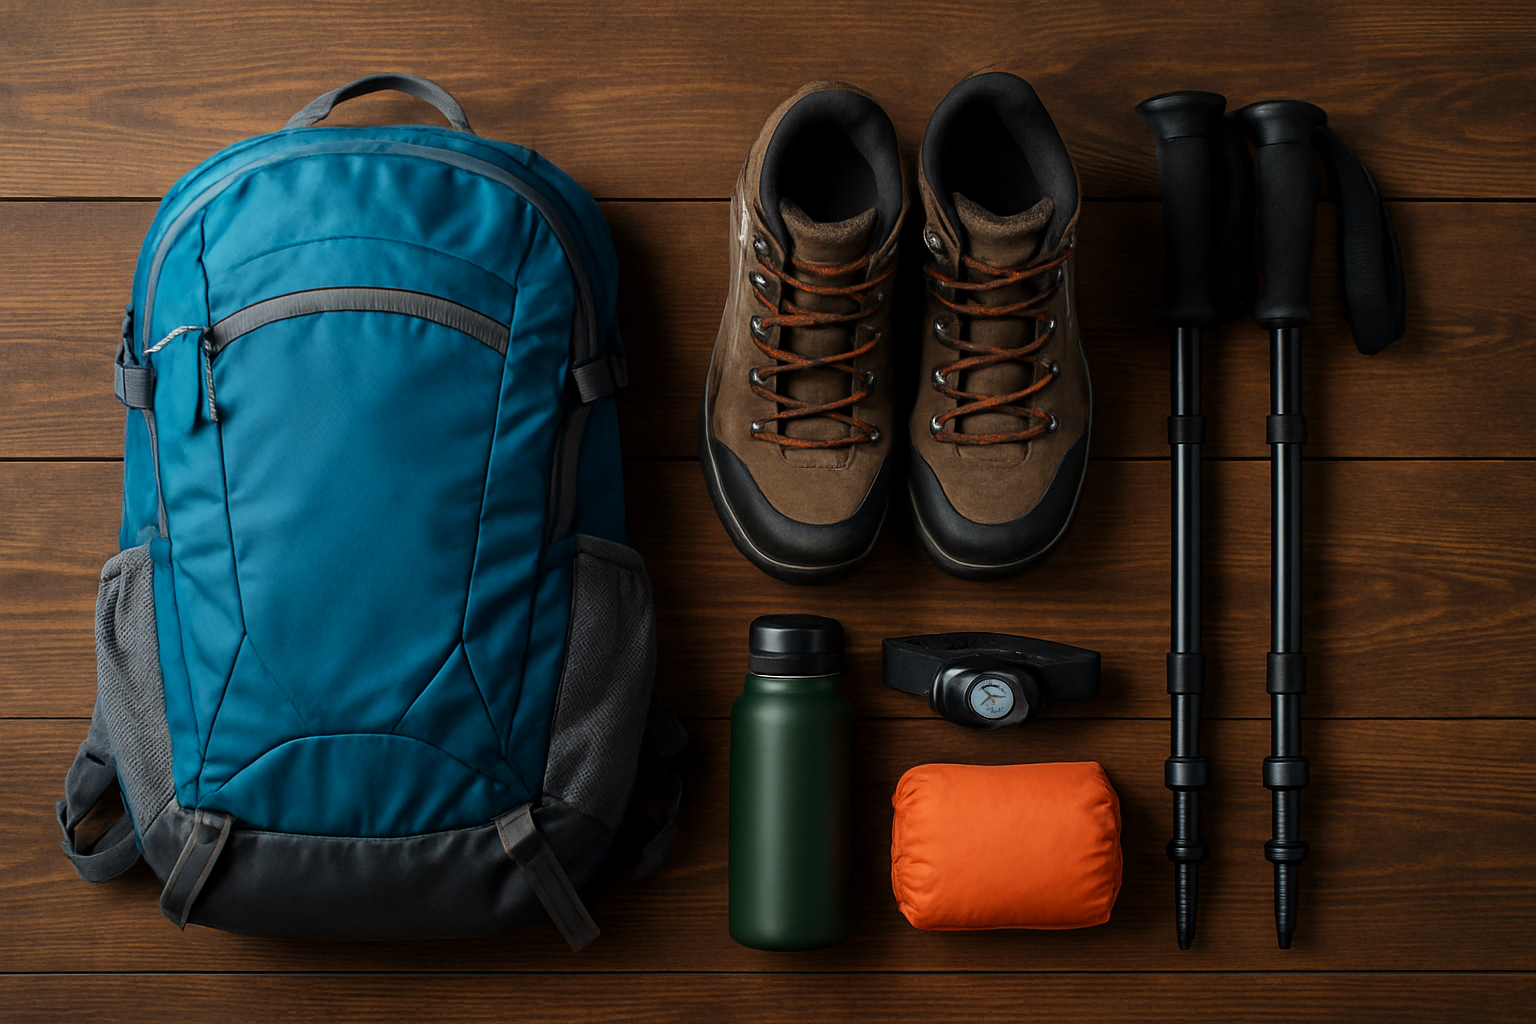
Small accessories can transform a good pack into a great one, especially when you tailor them to your body and your specialty. Get ideas from our field-tested list of essential backpack add-ons that boost comfort without extra fuss. Shoulder strap pockets keep snacks, a phone, or a compact filter where your eyes can see them, which encourages consistent fueling and hydration. A thin lumbar pad can help fill the gap on straighter backs and nudge the pelvis into a neutral position, while a simple foam sit pad doubles as back panel support for ultralight (UL) day kits. Trekking pole retainers and front bungee cords provide quick stash options that do not invite tangles or block side pockets you may need for water or a rod tube.
Hiking Pack Fit provides guidance on the add-ons that deliver the most comfort per gram, based on both lab pressure mapping and field reports. We often suggest high-contrast organizer pouches for seniors to improve visibility and reduce rummaging, and a dedicated electronics pouch to protect a Global Positioning System (GPS) unit or batteries from cold. For photographers, an adjustable chest sling for a camera distributes weight without dragging on shoulder straps, and for anglers a small retractor and tool patch up front keeps forceps handy without snagging line. Climbers may find that a slim hip belt pocket is worth the grams, because it stores tape, a bar, and a topo where you can reach them while belayed.
- Shoulder and hip pockets: snacks, sun protection, navigation, and meds within one step of your eyes.
- Lumbar wedge: fills curve, increases contact area, and supports neutral spine on long days.
- Color coded pouches: reduce rummage time and help partners find items if you need assistance.
- Simple repair kit: keeps you moving when a buckle breaks or a seam needs a few stitches.
How Hiking Pack Fit Turns Confusion into Confidence
Hikers often struggle to find the right backpack design and fit, which leads to sore shoulders, unstable loads, and shorter days than planned. Hiking Pack Fit solves this with real-world tested and lab-backed guidance that transforms measurements and movement patterns into precise, personal recommendations. Our diverse fit database connects your body dimensions to pack models that have already worked for hikers with similar shapes and goals, whether you are a senior walker, a traveling photographer, or a weekend climber. Because our reviews and guides are based on both pressure mapping and field miles, we can tell you not only what should work but what does work after months of use.
We then help you organize your kit with specialty-specific layouts that speed access and reduce fatigue, while steering you toward durable and repairable packs verified by field tests to keep you outside longer. The result is a carry system that feels stable on rocky steps, breathable on warm grades, and simple to fix if a buckle or zipper fails far from the trailhead. With clear steps, a few targeted add-ons, and a fit you can trust, you will spend your energy on scenery and friends instead of on straps and hot spots. If you came here looking for hiking gear solutions you can apply today, you just found a blueprint you can adapt and refine as your adventures grow.
Quick Buyer’s Checklist to Confidently Choose Your Pack
A structured checklist prevents impulse buys and anchors your choice in fit, function, and future maintenance. Start by defining your primary trip style for the next season, because a pack that excels at day hikes may not serve a camera-heavy wildlife mission. Confirm torso and hip measurements, then shortlist models that match your specialty’s organization needs and prefer options with replaceable hardware and proven fabrics. Finally, wear your real kit for a short walk, refine adjustments, and make sure your critical items sit where muscle memory will find them without a pause or a glance.
- Match size to torso and hips using a fit guide or Hiking Pack Fit’s database.
- Prioritize organization for your specialty: side access for cameras, wet pocket for anglers, clean lines for climbers, simple access for seniors.
- Evaluate repairability: buckles, belts, and straps that can be swapped, plus stitch-friendly fabric.
- Do a five minute movement test with real weight, not store props, and adjust in the correct order.
- Commit to a simple, repeatable layout that keeps essentials consistent across trips.
Final Thoughts: From Knowledge to Miles
Smart hiking gear solutions align fit, organization, and durability so your pack feels like part of your body, not baggage you are dragging uphill. Imagine carrying a camera, a rod, or a small rack while your shoulders stay fresh and your hips do the work they are built to do. In the next 12 months, the combination of repairable designs and personal fit data will make it normal to keep a pack for years while upgrading only the parts that matter. What will you do with the extra energy and the extra confidence that comes from a carry system built for your body and your goals?
Additional Resources
Explore these authoritative resources to dive deeper into hiking gear solutions.
Elevate Your Hiking Gear Solutions with Hiking Pack Fit
Leverage durable, repairable, field-tested packs plus lab-backed guidance and a diverse fit database to match your body and activity, boosting comfort and performance.
© 2025 Hiking Pack Fit. Guidance based on real-world tests and lab-backed analysis to help every hiker carry comfortably.
Related Articles