Pain-Free Hiking Pack Weight Distribution: Pro Tips
By Linnea Sørensen • 3rd Oct
Understanding how to properly distribute weight in your hiking pack transforms trail discomfort into trail confidence. When you master backpack organization techniques, your load feels integrated with your body, not something you're wrestling with mile after mile. This isn't just about avoiding fatigue; it's about reclaiming your right to comfort on the trail, regardless of your body shape, trip length, or terrain. I've witnessed time and again how proper weight distribution shifts more than just physical strain, it shifts perspective.
What's the Most Important Principle for Pain-Free Weight Distribution?
Forget rigid "rules" that treat all bodies the same. The golden principle is this: your center of gravity should align with the pack's, not the other way around. Your body's unique geometry, including your torso length, hip structure, and shoulder slope, determines where "center" actually is for you.
Fit that respects your body feels like permission.
Most discomfort comes from forcing your body to adapt to the pack's presumed center of gravity. Instead, adjust your pack to your body. Start by positioning heavy items vertically between your shoulder blades and hips (this "power zone" keeps weight close to your spine and prevents that dreaded backward pull on steep climbs).
How Do I Organize My Backpack by Weight Zones?
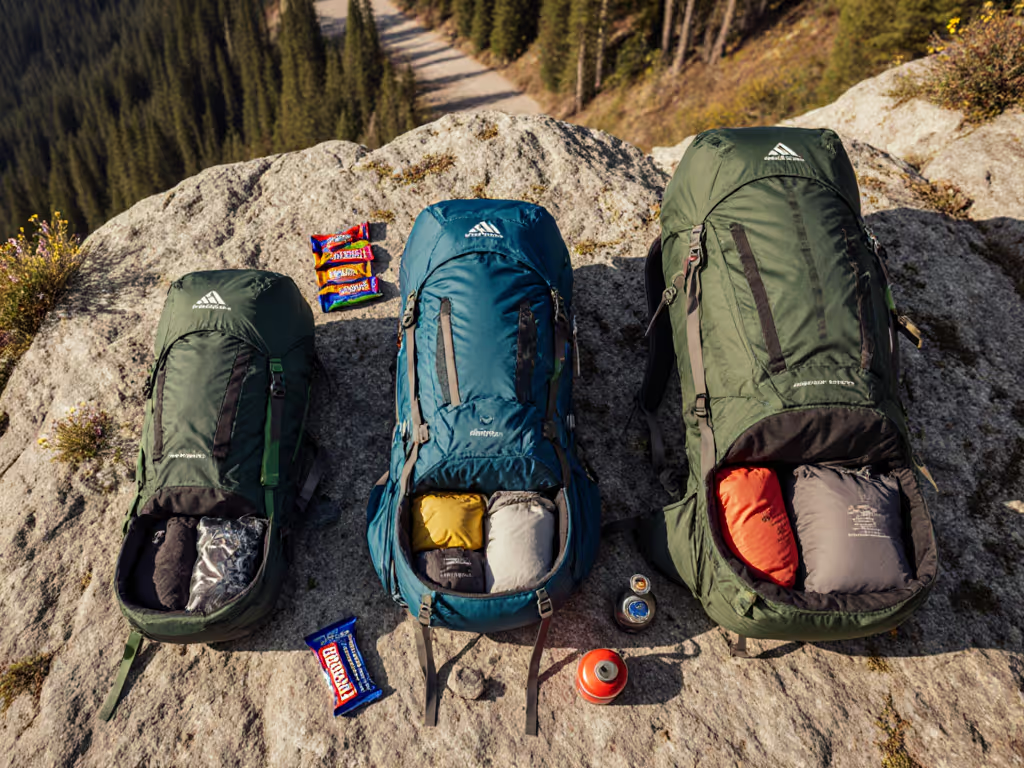
Think of your pack as having three vertical zones, not just compartments:
1. Bottom Zone: Bulky but Light
- Sleeping bag (in compression sack)
- Extra clothing layers
- Tent body (if not external)
Why it works: These items stay put without shifting your balance, and since you won't need them mid-hike, they're out of the way. Keep this zone under 20% of total weight.
2. Core Zone: Heavy Items Close to Your Back
- Water reservoir or bottles
- Food storage
- Cooking system
- Bear canister
Why it works: This is where your body naturally carries weight. Heavy items here mimic how you'd carry a child on your hip, close to your core, requiring minimal muscular effort.
3. Top Zone: Frequent-Access Items
- Rain jacket
- Snacks
- First-aid kit
- Map/compass
Pro tip: Even on a hiking day pack, keeping frequently needed items in easy reach prevents constant unpacking that disrupts your hard-earned balance.
What Are Effective Organization Techniques for Diverse Bodies?
Standard advice often assumes a "neutral" torso-to-hip ratio that doesn't reflect real human variation. Here's how to adapt:
- For shorter torsos: Shift heavy items slightly lower in the core zone. Raise load lifters so they form a 45-degree angle from your shoulders to prevent pressure on your neck.
- For longer torsos: Position heavier items higher in the core zone. Micro-adjust your sternum strap downward to keep the harness from pulling your shoulders forward.
- For full-chested hikers: Place your heaviest items below your chest line, not against it. Route shoulder straps wider to clear your chest without gaps.
- For straight-hipped frames: Prioritize hip belt stability, tighten load lifters slightly more to prevent sway.
Organization isn't just about what goes where; it's about how each placement interacts with your movement patterns.
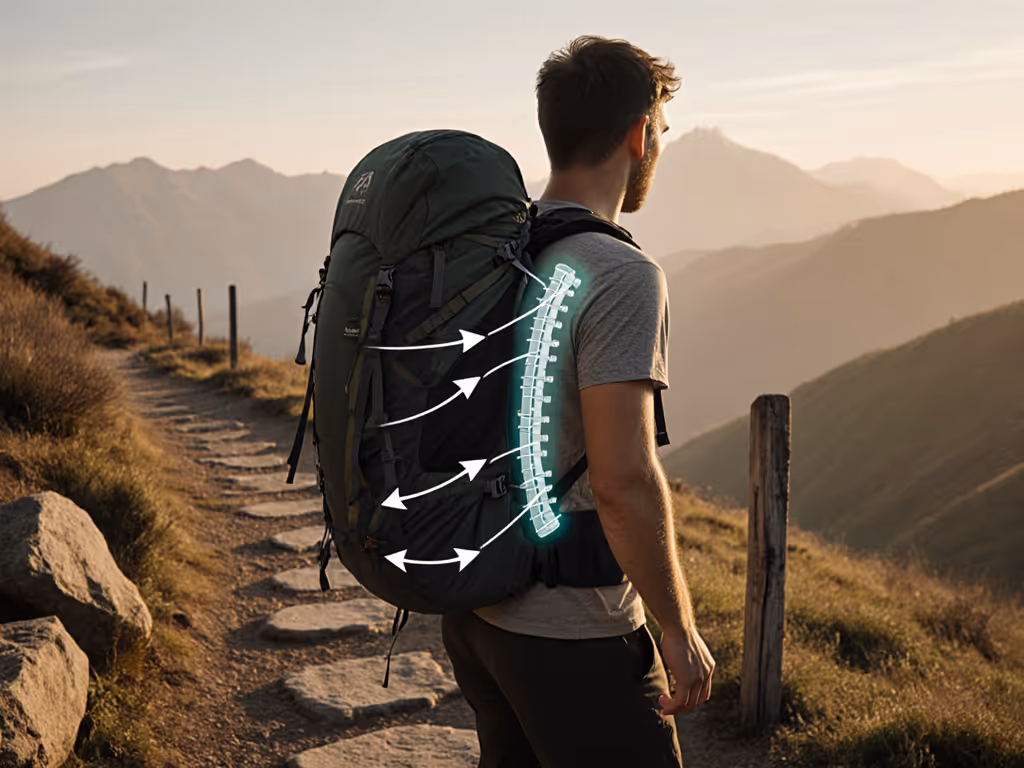
How Does Torso Length Affect Weight Distribution?
Torso length determines where your "power zone" physically sits. A common mistake: setting torso length based on sandbag weight in a store, not real trail movement.
Here's how to dial it in:
- Measure your actual torso length (C7 vertebra to iliac crest)
- Position the hip belt so the top edge rests on your iliac crest
- Adjust the harness to bring heavy items into your personalized power zone
- Micro-adjust, then walk (literally take 10 steps to feel how weight settles)
When correctly adjusted, your hiking pack should feel stable during lateral movements like side-hilling, not just straight walking.
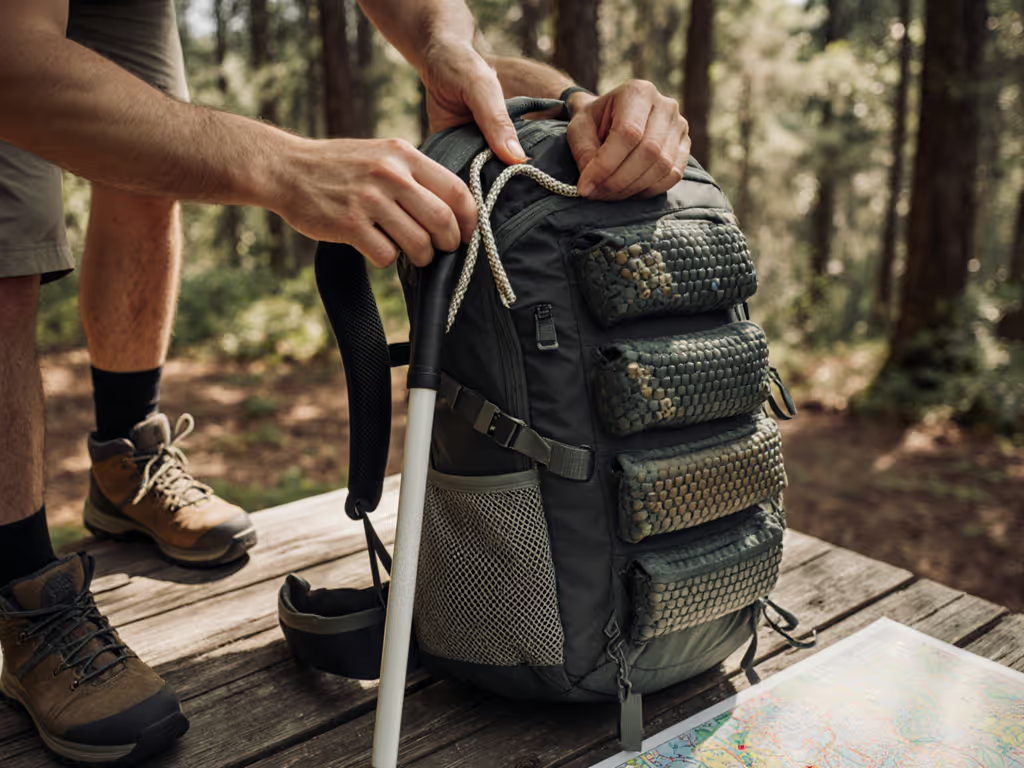
When Should I Use Backpack Compression Techniques?
Compression serves two critical functions beyond just making room:
- Stabilizing shifting loads: After eating half your food or using water, compress side straps to prevent sloshing that pulls you off-balance
- Maintaining close carry: A properly compressed pack stays flush against your back, keeping its center of gravity aligned with yours
Key insight: Over-compression squeezes air from insulation (like your sleeping bag), but under-compression lets heavy items migrate downward, creating that "sagging" sensation that strains your lower back. Find the sweet spot where your pack feels like an extension of your body, not a separate entity.
What Are Weight Distribution Tips for Longer Hikes?
As your load changes throughout a trip, your distribution strategy must adapt:
- Early in the trip (full load): Prioritize stable weight placement over quick access
- Mid-trip (partial load): Compress empty spaces and reposition remaining heavy items into your power zone
- End of trip (light load): Loosen hip belt slightly and lower load lifters to maintain connection with a lighter pack
One hiker I worked with struggled with numb fingers on multi-day trips. We discovered her hydration reservoir was positioned too high, causing shoulder strap pressure on her brachial plexus. Simply lowering the water weight into her core zone solved months of frustration, a reminder that weight distribution tips aren't just about comfort; they're about preserving your connection to the trail.
How Do I Adjust My Pack While on the Trail?
The trail isn't static, and neither should your pack be. Here's when to stop and reassess:
- After significant water consumption (every 1-2 liters gone)
- When changing elevation dramatically (summiting or descending)
- After eating substantial food
- When changing layers (especially in humid climates)
The rhythm should be: stop → assess sensation → micro-adjust → walk. Notice how your body responds to terrain changes before discomfort sets in. Your pack should feel different on a steep climb than a flat traverse, and that's okay. The goal isn't one perfect adjustment, but the confidence to make continuous small corrections.
Final Thought: Your Right to Comfort
That moment I'll never forget: the quiet realization in a hiker's eyes when we adjusted their torso length and strap routing. It wasn't about the mechanics alone. It was the dawning understanding that their body belonged on the trail. Comfort isn't a luxury earned through suffering; it's the foundation that lets you experience more miles, more views, and more of what brought you outdoors in the first place.
Your next step? Grab your pack without gear. Adjust the torso length and hip belt while standing naturally. Place a single 3-5 pound weight (like a full water bottle) in the core zone. Micro-adjust, then walk, pay attention to how your body responds on flat ground, then a slight incline. Notice where you feel connection, and where you feel pull. This simple practice builds the awareness that transforms theory into trail confidence.
When your pack moves with you rather than against you, the trail opens up in ways you might not have believed possible. That's not hype, it's mechanics meeting respect for your body.
Related Articles