Torso Length Measurement: Stop Backpack Pain
By Diego Nakamura • 3rd Oct
You're hiking a steep trail with a new backpack, and your shoulders burn. Your lower back aches despite hip belt adjustment. You might assume you bought the wrong size, but chances are, your torso length measurement method was flawed. A proper backpack sizing guide starts with accurate measurement, not marketing S/M/L designations. Forget height charts; your anatomy is the only metric that matters when stopping backpack pain.
Why Torso Length Beats Height Every Time
Most outdoor retailers advertise packs by height ranges. This is lazy math. Two people both 5'10" can have 5" differences in torso length (the measurement from C7 vertebra to iliac crest). I've seen petite hikers with long torsos crushed by "small" packs and tall climbers swimming in "large" frames. Height correlates poorly with torso length; body proportions vary wildly.
Explicit assumption: Your spine length determines suspension fit, not your total height. A pack's frame must align with your spinal curve. Mismatch this, and you're transferring weight to shoulders instead of hips, which guarantees pain.
Measuring Methods Compared: Where Most Get It Wrong
Method 1: The Tape-Down-Your-Spine Approach Found on KiwiSizing, REI, and others
- Place tape at C7 (that bony bump at neck base)
- Run tape straight down spine to waistline
- Measure to "natural waist" or hip crest
Problem: Waistline means nothing. Backpacks sit on the iliac crest (top of hip bones), not your fashion waist. Measure to your belt line, and your hip belt will ride too high, causing bruising and slippage. Also, "straight down" ignores spinal curvature, shortening the true measurement.
Method 2: The Thumbs-on-Hips Technique Used by Tortuga, many backpack brands
- Locate C7 vertebra
- Place thumbs at top of hip bones, fingers toward spine
- Measure from C7 to thumbs
Advantage: Better hip belt targeting. Thumb placement mimics where weight-bearing belts sit.
Critical flaw: Most people don't find the true iliac crest. They measure too low (to waistline) or too high (to soft tissue above hips). Result: hip belt sits where it can't transfer weight properly.
Method 3: The Swimsuit Loop Method From Eye on Annapolis
- Start at shoulder, run tape down front, through legs, up back to start
- Measures "girth" not torso length
Major issue: This measures total body circumference for swimsuits, not spinal length for backpack suspension. Completely irrelevant for pack sizing.
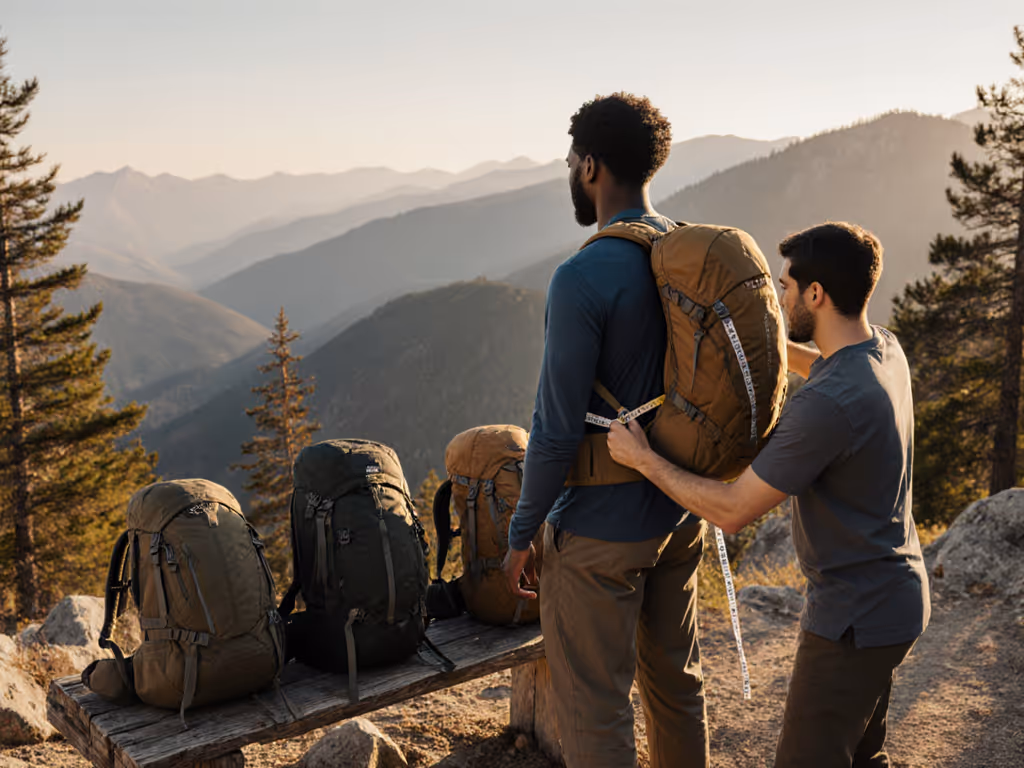
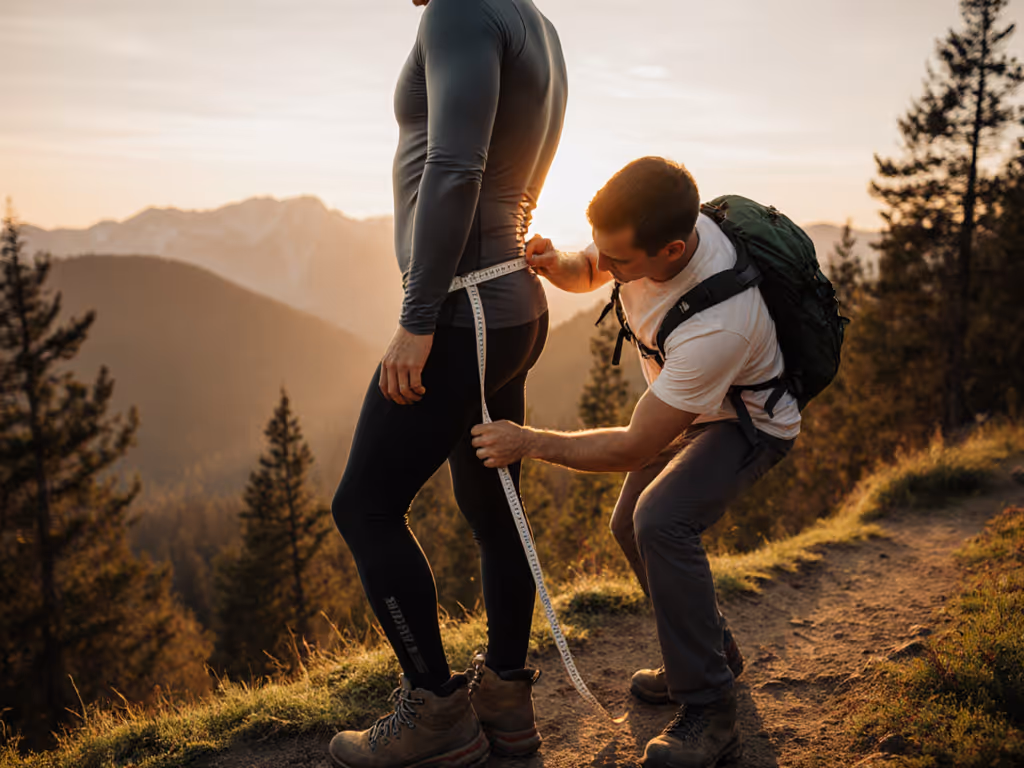
The Field-Tested Torso Measurement Technique
After running a nonprofit gear library, I developed a method that accounts for real load-bearing needs. It's not just about static measurement. It is about how your spine carries weight.
What You Need:
- Soft tape measure
- A partner (critical for accuracy)
- Sturdy surface to stand on (no shoes)
The 3-Step Process:
- Find C7 correctly: Tilt chin down. The prominent bump where neck meets shoulders is C7. Mark it with tape.
- Locate iliac crest: Stand naturally. Place hands on hips (thumbs pointing backward). The top of the hip bone feels like a hard shelf. Have a partner confirm with finger pressure (it won't squish like soft tissue).
- Measure the curve: Tape follows the spine's natural S-curve from C7 to iliac crest, not a straight line. Keep tape snug but not tight. Breathe normally during measurement; don't suck in your stomach.
Value is comfort-hours per dollar, not checkout-line price. An accurate measurement means your pack lasts seasons instead of weeks.
This method works for all body types. Short torsos won't get hip belts digging into ribs. Curvy figures avoid belts that slide down. Long torsos gain proper shoulder clearance. It's the only torso measurement technique that aligns with how hiking pack suspension actually functions.
Why Initial Measurement Isn't Enough
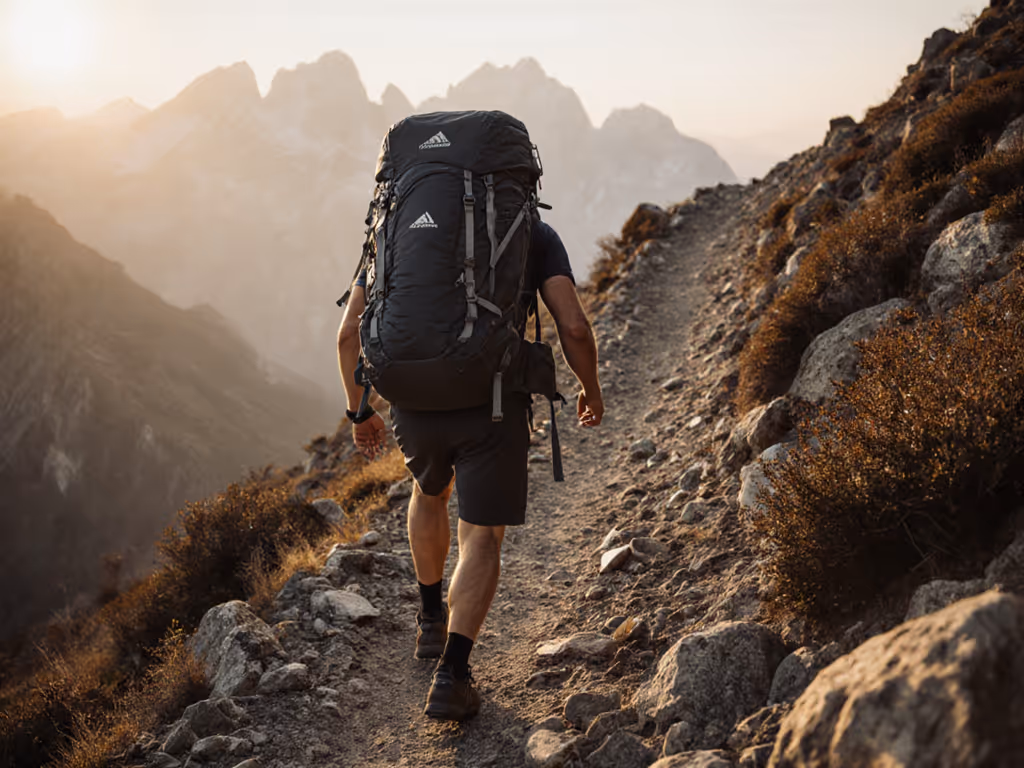
You've measured precisely. But your pack still pinches? Here's what nobody tells you: static torso length is just step one. Packs must fit across dynamic movement: side-hilling, scrambling, forward lunges. Most brands optimize for standing still, not trail reality.
The failure point? Hip belt rotation. On steep ascents, belts that fit statically often twist upward, shifting weight to lumbar spine. Proper backpack fitting requires testing packs loaded to your typical trip weight (25-35 lbs for weekend trips). Empty or lightly loaded tests are useless, because they don't reveal how frame materials flex under real loads.
what fails first? The connection point between human and hardware. If your hip belt isn't seated correctly on the iliac crest, even premium packs degrade to shoulder-carriers within miles.
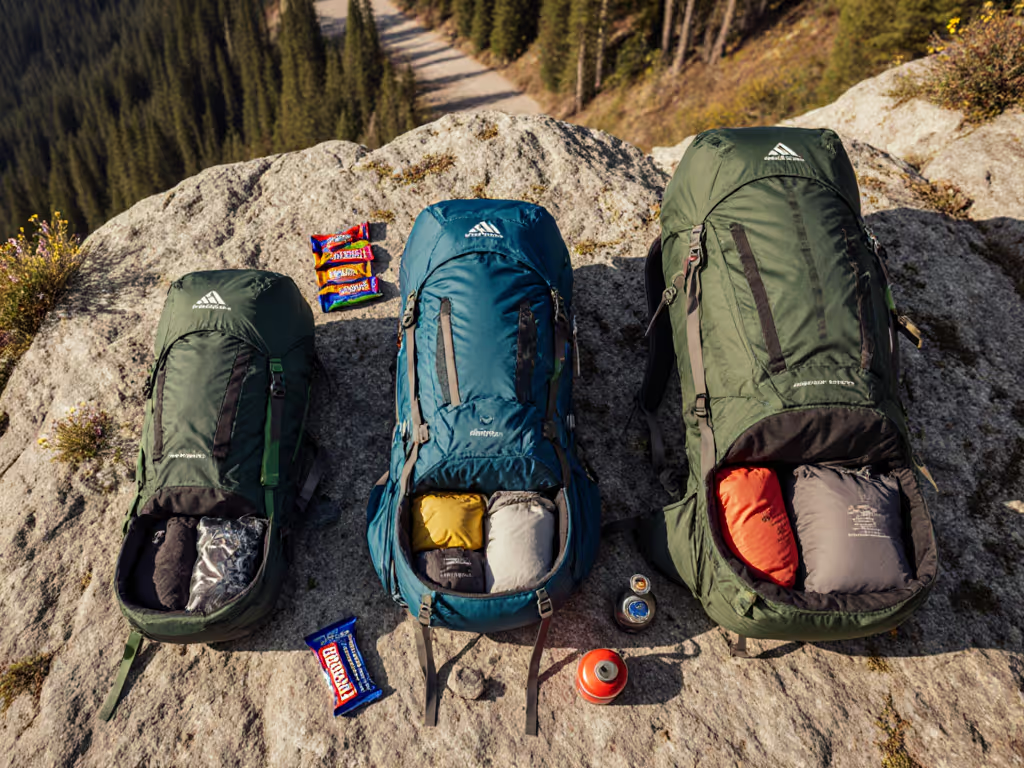
Lifecycle Perspective: Why Measurement Matters for Longevity
My gear library experience taught me this: one well-fitted pack trumps three "okay" fits. The $250 pack that fits perfectly delivers 500 trail days. The $180 pack that almost fits? It causes pain at 20 lbs, forcing you to baby it below capacity. You replace it in two seasons. Clear math: $0.50/comfort-hour vs $0.90/comfort-hour.
This is hip belt sizing as total cost of ownership. Instead, optimize for pain-free miles. A pack that fits correctly:
- Lets you carry heavier loads without strain
- Requires fewer adjustments on trail
- Maintains structure for 5+ years
- Has replaceable parts (hip belt padding, straps)
Actionable Steps to Stop Backpack Pain
- Measure properly: Use the 3-step dynamic method above. Write down your torso length (e.g., "17.5 inches").
- Cross-reference brands: Note that "medium" means different things everywhere. Osprey's M is 16-18", Deuter's M is 18-20". Base decisions on your measurement, not labels.
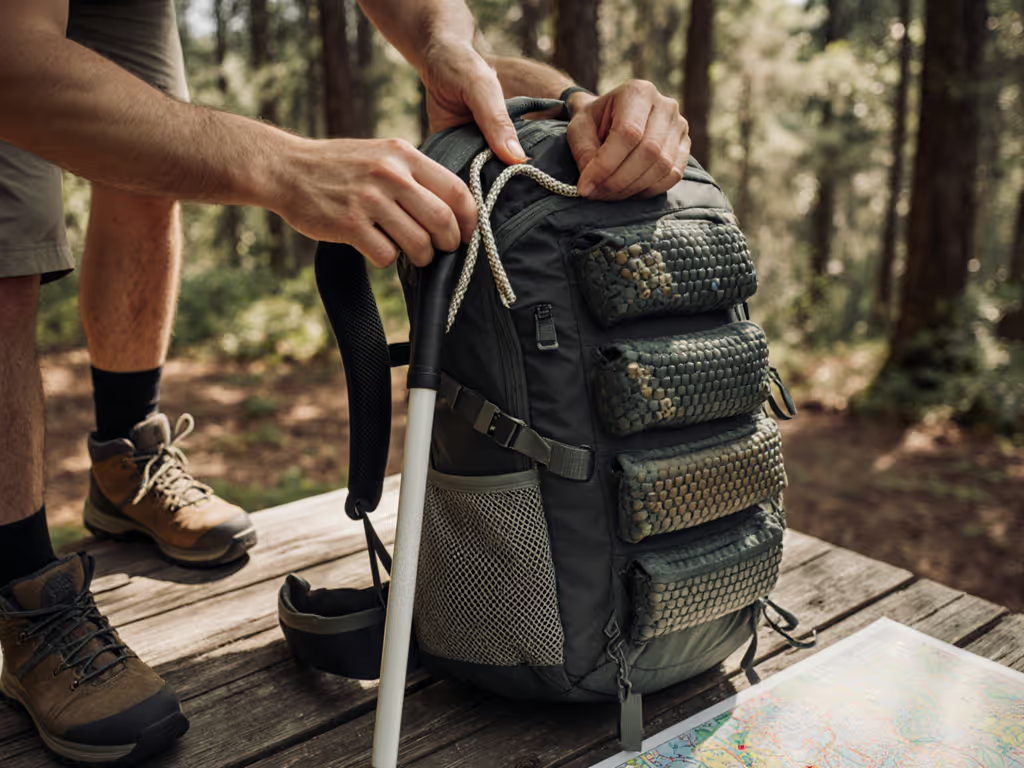
- Load-test before buying: At REI or an outfitter, load packs to your typical weight. Hike the store's incline ramp. If you can't walk 10 minutes pain-free, skip it.
- Check repair support: Does the brand sell replacement hip belts? Published repair guides? If not, skip it. Poor fit will degrade faster, and repairs become impossible.
The Bottom Line
Accurate torso measurement isn't a one-time task, it's the foundation for sustainable gear use. Every hiker I've advised who mastered this stopped replacing packs yearly. They're still using the same harness with new hip belt padding, chasing comfort-hours instead of deals.
Measure once, carry right. Your spine will thank you mile after mile. Grab a tape measure and a friend tonight. Your next hike depends on it.
Related Articles