CDT Backpack Guide: Stop Shoulder Pain Now
By Aisha Al-Rashid • 11th Jan
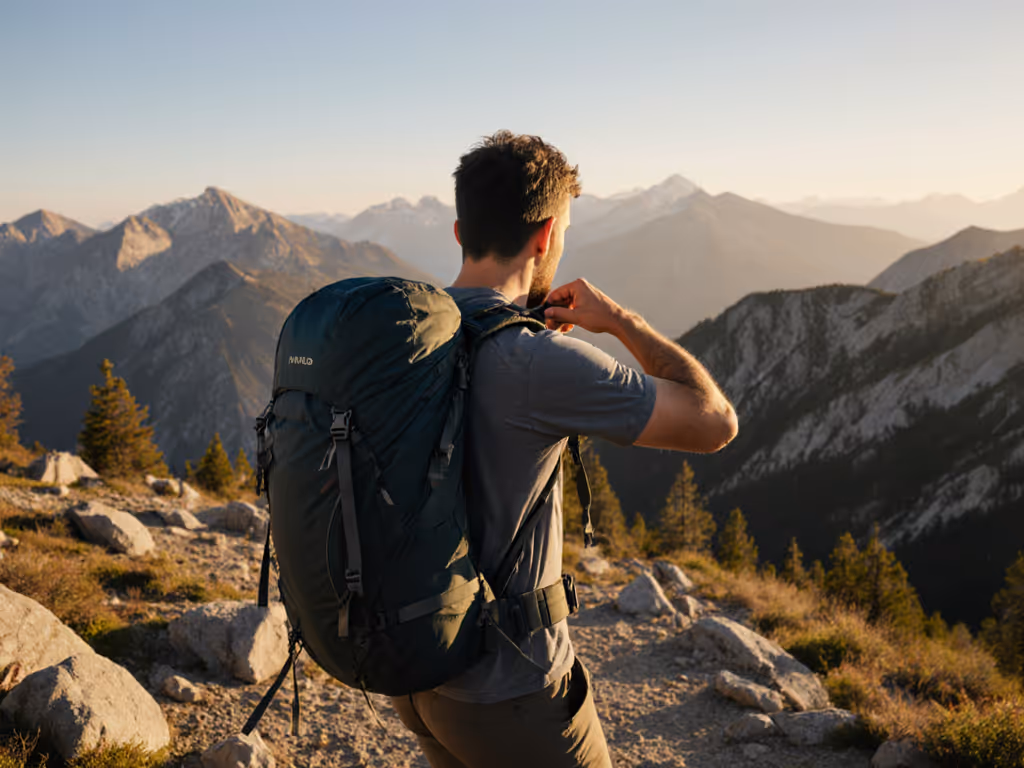
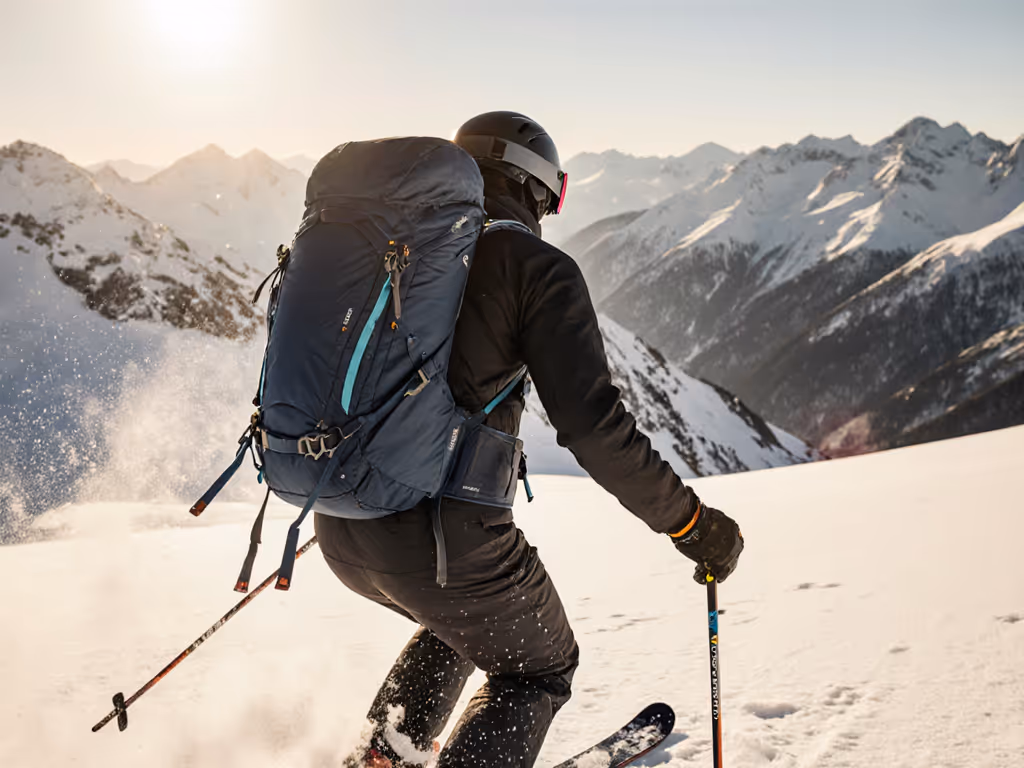
If you're researching the right Continental Divide Trail packs for your adventure, you've probably felt that familiar shoulder ache after just a few miles. This CDT backpack guide won't tell you to lighten your load until it hurts less. Instead, let's focus on how your pack carries weight, not just how much. I've led dozens of first overnights through the Rockies, and I know shoulder pain isn't about toughness, it's about fit. When your pack hugs your body right, you stop noticing it altogether and start noticing the aspen leaves instead.
Why Shoulder Pain Happens on the Continental Divide Trail
Most backpackers assume shoulder pain means their pack is too heavy. But with CDT hiking gear, the real culprit is often misdirected weight. On high passes where air thins and trails steepen, a poorly balanced load shifts forward, dumping pressure onto delicate shoulder tissue. That's why your 30-pound load might feel unbearable while an experienced hiker's 35-pound pack disappears on their back.
The physics of pain:
- When hip belts sit too high or ride up, 70-80% of your load falls to shoulders
- Load lifters angled too steeply pull shoulder straps down into collarbones
- Packs without proper frame stiffness collapse on descents, shifting weight forward
- Tight chest straps without proper adjustment restrict breathing at altitude
I remember a nervous hiker on my first guided overnight apologizing for being slow. We paused, lifted the load just enough to see where it had slipped off their hips, rebalanced their water bottles, and properly laced the hip belt. Within minutes, they were spotting birds instead of counting steps. That's the power of simple adjustments.
The 3 Non-Negotiable Fit Checks for Rocky Mountain Backpacks
Stop guessing about torso measurements and S/M/L labels. Before you hit trail towns like Silver City or Helena, verify these three elements with your loaded pack:
1. Hip Belt Positioning Test
"Your hip belt should sit on your iliac crest (the top of your hip bones), not your waist or lower back."
- Check: Stand naturally, find the top of your hip bones with both hands. The top edge of your hip belt padding should sit 1-2 inches below this point.
- Fix: If your belt rides up, your pack is too tall for your torso or lacks proper load lifters. If it sits below your hips, the frame is too short.
- Why it matters: On high altitude trail packs, proper hip positioning prevents lower back strain during long ascents where you lean forward.
2. Shoulder Strap Angle Assessment
- Check: With your pack loaded to trail weight, look in a mirror. Your shoulder straps should form a straight line from the top of your shoulder to the top of the pack, not pulling down toward your collarbones.
- Fix: Adjust load lifters to 45-degree angle. If pain persists, your pack's shoulder harness may not match your shoulder slope (common for folks with broader shoulders or fuller chests).
- Why it matters: Rockies backpacks need to accommodate side-hilling terrain where weight shifts laterally. Proper strap angle prevents "shoulder bite" on switchbacks.
3. Load Transfer Verification
- Check: Load your pack with 30-35 pounds (typical CDT weight). Fasten hip belt first, then shoulder straps snug but not tight. Have someone gently lift upward on the shoulder straps while you stand normally. You should feel almost no additional pressure on your shoulders.
- Fix: If weight transfers to shoulders when lifted, your hip belt isn't making proper contact (likely due to improper sizing or lack of lumbar support).
- Why it matters: On mountain pass backpack selection, this ensures stable carry during scrambling sections where you need full shoulder mobility.
Your Quick Fit Checklist
- Hip belt sits on top of hip bones, not waist
- No gap between lumbar curve and pack back panel
- Shoulder straps lie flat without digging in
- Load lifters angle at 45 degrees from shoulder
- Sternum strap sits at collarbone level, not breastbone
Body-Inclusive Fit Considerations for All Hikers
Most gear guides speak in binary terms (men's and women's harnesses), but real bodies don't fit those boxes. If you're on the ends of the height spectrum, see our torso fit solutions for tall and short hikers for brand and sizing tips that actually work. Whether you have a short torso, broad shoulders, full chest, or straight waist, these adjustments make Continental Divide Trail packs work for you:
For Shorter Torso Hikers (Under 16")
- Avoid packs with tall, rigid frames that force hip belts low
- Look for adjustable torso ranges starting below 16"
- Prioritize load lifters that attach higher on the pack
- Cinch all straps tight, since loose packs amplify instability on rocky terrain
For Full Chest or Broad Shoulder Hikers
- Women's specific harnesses often position sternum straps too low, so opt for packs with highly adjustable sternum straps
- Shoulder straps with wider top padding distribute pressure better
- Avoid rigid frame channels that dig into collarbones
- "S-curve" straps often work better than straight "I-curve" designs
For Straight-Waisted or Plus-Size Hikers
- Hip belts with curved padding often slip, so look for straighter designs with grippy backing
- Longer hip belt extensions mean secure fit without excessive tightening
- Padding that covers more hip surface area distributes weight better
- Some brands offer hip belts sold separately for true customization
For Petite Hikers (Under 5'4")
- Pay attention to hip belt rise (the vertical distance from top to bottom of padding)
- Lower rise belts (2-3") prevent padding from riding over hip bones
- Shorter torso ranges keep the harness closer to your center of gravity
- Consider women's specific packs even if not marketed to you, since they often have shorter torso ranges
Packing Order That Prevents Shoulder Strain
Your gear placement dramatically affects how weight transfers to your body. Forget "lighter is better"; focus on smart weight distribution:
The CDT-Specific Packing Sequence
- Bottom third: Sleep system (quilt, pad, pillow) - soft, compressible items that mold to your hips
- Middle third: Food and bear canister (centered over your spine)
- Top third: Rain gear, first aid, layers you'll access frequently
- External pockets: Water bottles (evenly balanced), toilet kit, trekking poles
- Hip belt pockets: Snacks, phone, permits - nothing heavy that swings your center of gravity
"A well-packed CDT backpack guide principle: heavy items close to your spine, not against your back panel."
Crucially, place your water bottles in side pockets (not behind your hips). For step-by-step packing layouts that keep weight off your shoulders, use our weight distribution guide. Even 20 ounces of water misplaced can pull shoulder straps down with every step through Colorado's high country.
Practice Before You Commit
No online review can replace walking in your boots with your loaded pack. But you don't need to drive to a distant trailhead:
- Load your pack to expected trail weight (30-35 lbs for CDT)
- Walk around your neighborhood with it for 30-60 minutes
- Focus on sensation - not distance covered
- After 15 minutes, stop and adjust all straps
- Notice pressure points as you walk up/down curbs
This is where the real magic happens. Can you still feel your shoulders after 20 minutes? Or have you forgotten the pack entirely while watching birds? That's the sign of a good fit. Practice on a short loop before committing to the trail, and your shoulders will thank you when you're 20 miles from the nearest town.
When to Consider a Different Pack Style
Not all backpacks handle the CDT's varied terrain equally. If you consistently experience shoulder pain despite proper adjustment:
- Consider frameless packs if you're under 35 lbs and have strong core strength (good for smooth sections in Montana)
- Try external frame packs if you regularly carry 35+ lbs or need superior ventilation (excellent for hot New Mexico sections)
- Opt for framed internal packs if you need stability on technical sections (essential for Wyoming's rocky passes)
Remember: The best pack isn't the lightest; it's the one that disappears on your back while you're noticing the wildflowers, not your shoulder straps.
Your Next Steps for Pain-Free Trails
Shoulder pain on the Continental Divide Trail isn't inevitable; it's information. Your body is telling you something's misaligned, not that you're not tough enough. By focusing on proper fit first, packing smart second, and practicing adjustments third, you reclaim hiking time for joy instead of discomfort.
Your next step isn't buying new gear, it's taking what you have on a short neighborhood walk with intentional awareness. Feel where the pressure lands. Notice how it shifts when you adjust different straps. Then apply those insights to your next adventure.
For more personalized guidance on gear that respects your body and the trail, check our companion guide: "CDT Packing Essentials: Organize for Comfort, Not Just Weight." There, we break down exactly what to pack, where to pack it, and how to adjust on the fly when trail conditions change, because the right gear setup turns exhausting miles into memorable adventures.
Related Articles