Backpack Size Guide: Fit Your Trip and Body
By Aisha Al-Rashid • 31st Mar
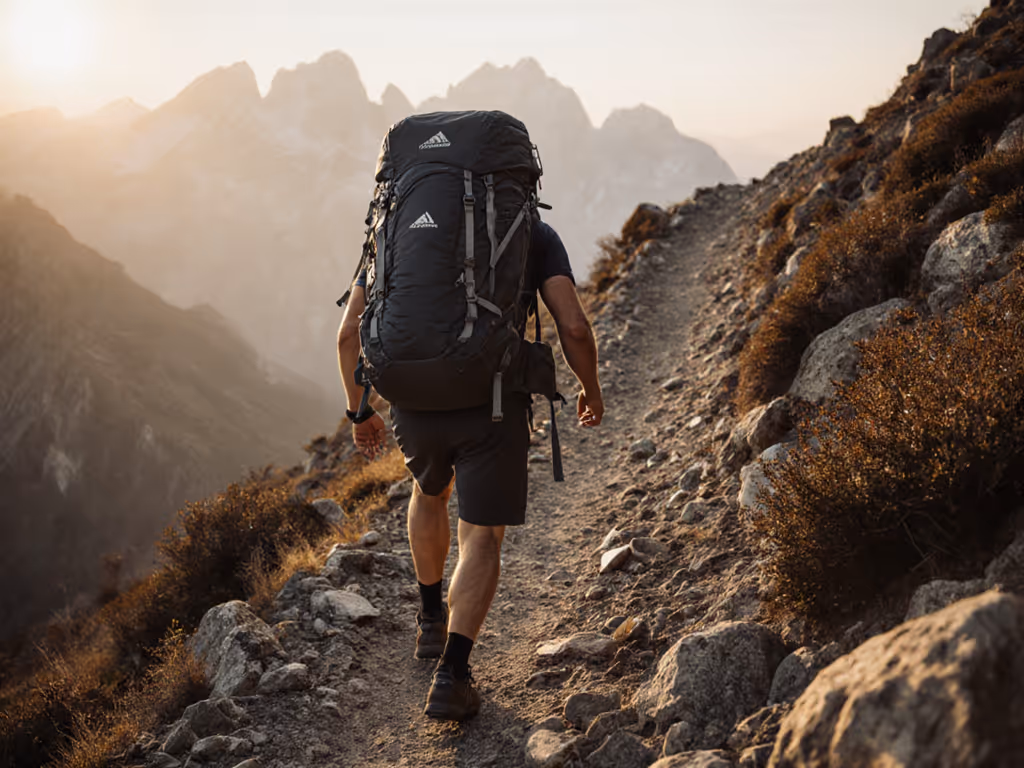
Finding the right backpack capacity starts with a simple truth: a pack that fits your body and matches your trip makes every mile feel easier. Whether you're heading out for an afternoon, a long weekend, or several days in the wilderness, the right hiking pack size removes friction and lets you focus on what matters, the trail, the view, and your own comfort.
Step 1: Match Capacity to Trip Length
The first checkpoint is honesty about how long you'll be out. Trip length drives the baseline capacity you'll need. For visual examples of what fits, see our 3-day capacity guide.
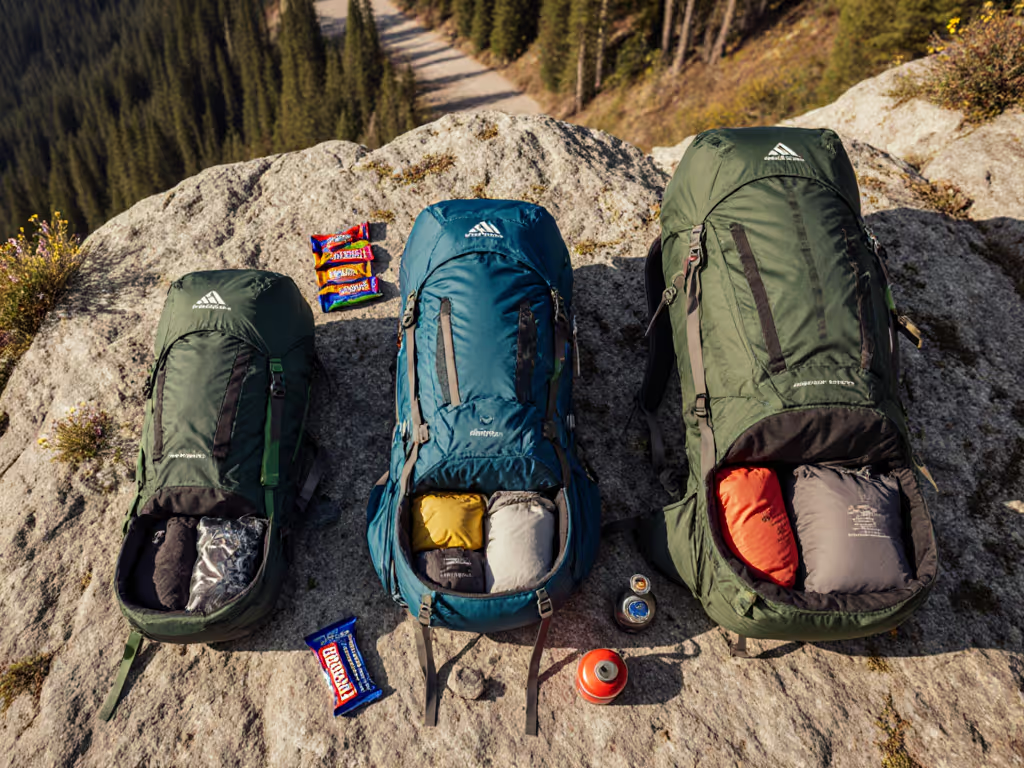
For day hikes, a 20 to 29 liter backpack works well. This holds water, snacks, a light layer, and the small things that keep you comfortable for a few hours to a full day. Think of it as your essentials carrier.
For weekend trips (one or two nights), aim for 30 to 39 liters. At this volume, you fit a sleeping bag, cooking gear if needed, extra clothes, and food without excess bulk. A 30 to 35 liter backpack is an industry standard for weekend trips because it balances carry comfort with enough room to breathe.
For three days or longer, a 40 liter capacity or more gives you the breathing room for extra layers, additional food, and resilience if weather shifts. Multi-day trips mean you're carrying more fuel, potentially heavier weather gear, and a wider margin for error.
These ranges overlap by design. A 30 liter pack can stretch into a light two nighter in warm, dry conditions, or anchor a robust day hike load. One change at a time: if you're between two sizes, choose the larger for your first pack. A little extra room is far kinder than stuffing a too small bag.
Step 2: Understand What Capacity Actually Means
Backpack capacity is measured in liters and tells you the total interior volume. But here's the practical part: not all 30 liter packs carry the same gear the same way. A 30 liter designed for alpine weekend travel has different pocket placement, frame stiffness, and access than one built for commuting.
When you're shopping or reading reviews, look for how much usable volume works at your expected trip weight. A pack that feels spacious at 15 pounds might feel floppy and uncomfortable at 30 pounds on uneven terrain. The pack's frame stiffness, suspension system, and how weight sits in relation to your hips determine real world comfort far more than the liter number alone.
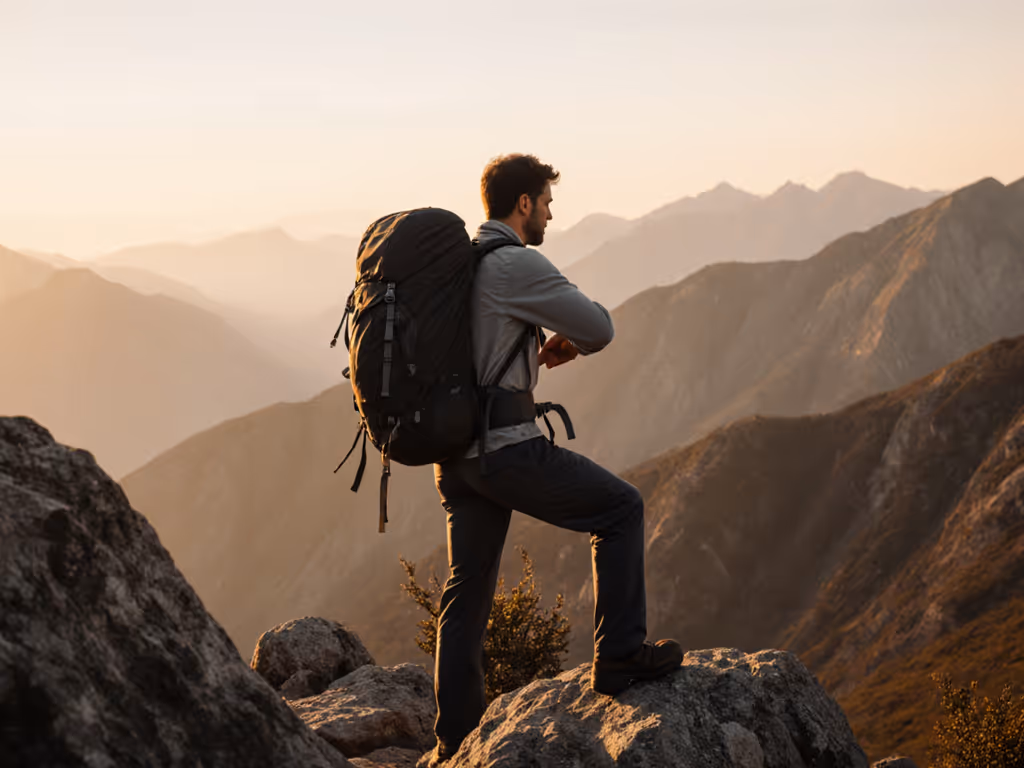
Step 3: Fit Your Body, Not the Reverse
This is where many first time hikers stumble. Backpack sizing is not one size fits most; your torso length, hip width, and shoulder structure all matter.
Torso length is the distance from the base of your spine (where your hip bones meet the back) to the base of your neck. Use our torso measurement guide to size your pack accurately. Packs come in sizes (extra small to extra large), and a proper fit means the pack's shoulder straps start where yours do and the hip belt wraps around your hip bones, not your waist.
Hip belt fit is non negotiable. A belt that sits too high rides on soft tissue; one that's too low slides off when you move. If you have a straight waist, an hourglass shape, or a broader hip, the right pack frame and belt width make a real difference. Some packs offer adjustment ranges that accommodate variation; others are more fixed. This is not vanity; a properly seated hip belt carries 50 to 70 percent of your load, protecting your shoulders and spine.
Shoulder straps should sit comfortably on your shoulders without cutting into your neck or collarbones. If the straps are too wide, they'll slip on descent. Too narrow, and they'll bite. Load lifters (straps that angle from pack to shoulders) help angle the load back toward your hips; on short torsos, they must angle at the right slope, or they'll pull painfully on your traps.
Chest strap placement matters for people with larger chests. A chest strap that sits too low interferes with breathing and chafes. The right placement is just below the chest, and some brands now offer adjustable or multiple position options.
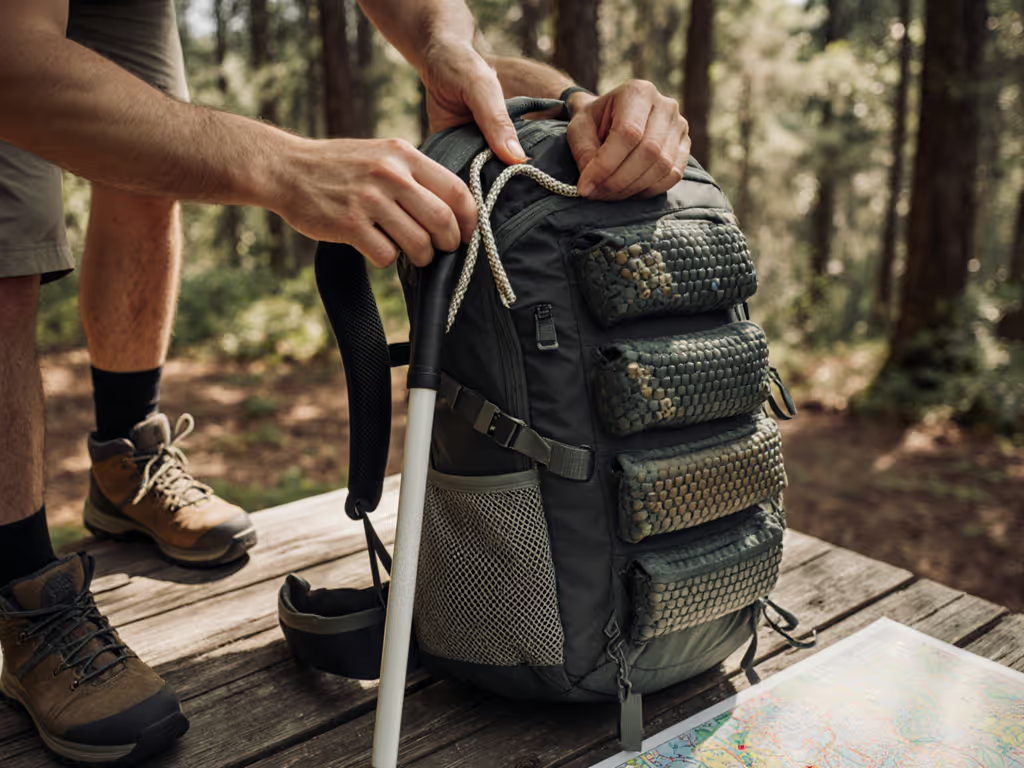
If you can, try a pack on with a weight in it (even a sandbag or a few books) before committing. Load it to your expected trip weight if possible. Walk around, swing your arms, and notice if anything pinches, slides, or digs. Your body will tell you in minutes whether a pack is a fit.
Step 4: Account for What You Actually Carry
Two people going on the same three day trip might need different pack sizes because of what they choose to carry.
If you're going ultralight (sleeping under a quilt, using a minimalist stove, rewearing layers), a 40 liter pack is plenty. If you like a roomier tent, a heavier sleeping bag for shoulder season trips, or you carry extra water for desert or high alpine travel, you may comfortably fill 45 to 50 liters. Neither is wrong; they're just different choices.
Consider your climate and season. A summer overnight in warm, dry weather needs less bulk than a shoulder season trip where you're carrying insulating layers, a rain shelter, and more food. Hot, humid climates add another variable: some packs trap heat against your back. Ventilated suspension helps, but it's often a tradeoff; a fully ventilated pack may sacrifice close to body weight distribution on technical terrain.
Account for atypical loads. If you're carrying a camera, a packraft, or water for a section without reliable sources, those items shift your center of gravity and stress the pack's frame. Mention this to a pack specialist or try on station; they can suggest frame options and load ideas that work for your specific needs.
A moment I remember clearly: on a first overnight I led, a nervous hiker kept apologizing for being slow and uncomfortable. We stopped partway and lifted their pack load off their shoulders, rebalanced their water to sit lower in the pack, and tightened the hip belt snug around their hips instead of their waist. Ten minutes later, the load felt half as heavy, and they were chatting about birds. Start with comfort; confidence makes the miles easier.
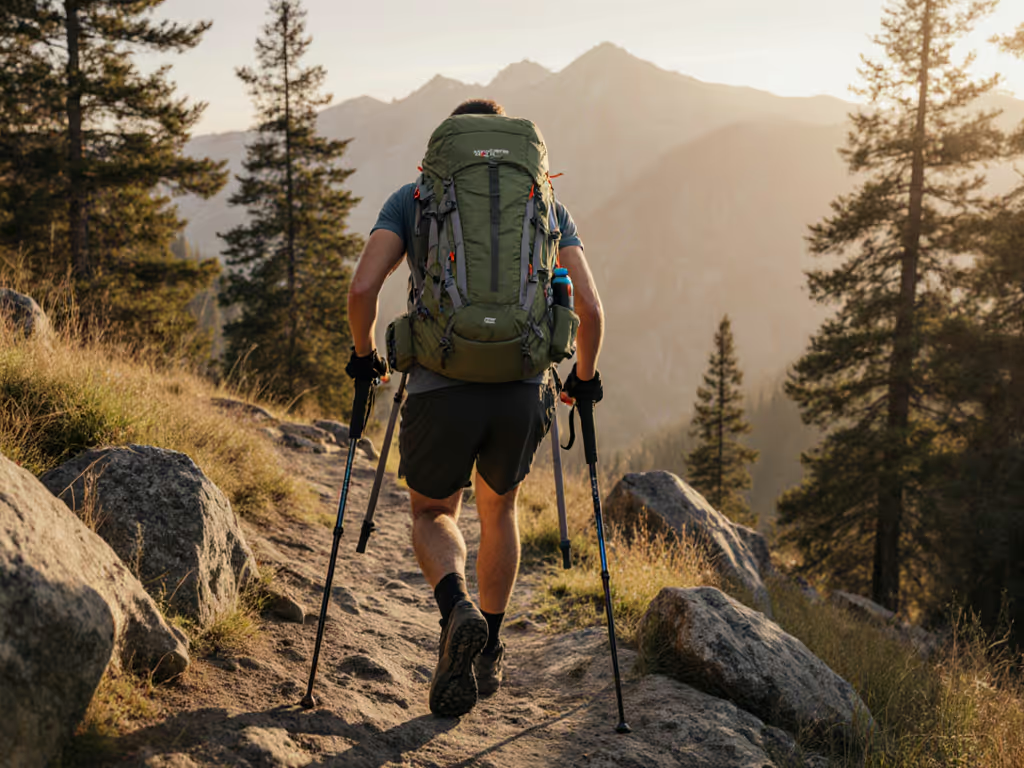
Step 5: Test Before You Commit (If You Can)
If your local outdoor retailer, rental shop, or a lending library has demo packs, use them. Load one to your expected trip weight and take it on a shorter hike (even a two hour outing on mixed terrain such as flat, climbing, descent, maybe some scrambling) to reveal things that static fitting never will.
Notice:
- Does the pack feel stable on descent, or does it bounce or shift side to side?
- Can you reach your water bottle and snacks without removing the pack or loosening straps?
- Do your shoulders, neck, or hips have any hot spots or pressure points after an hour of walking?
- Does the pack flex and move naturally with your body, or does it feel rigid and awkward?
- How does ventilation feel after 30 minutes of uphill? Is sweat pooling, or is there breathing room?
These answers are individual. You're not looking for perfection; you're testing whether the pack gets out of your way so you can focus on the hike.
Putting It Together: Your Next Step
Choosing a hiking pack is a sequence of small decisions, not one big leap. Start with your trip length to set a capacity baseline. Then check your torso length and hip width against the pack's sizing; many brands now offer detailed fit charts and even virtual fitting tools. Account for your climate, terrain, and what you love to carry. If possible, demo or rent before buying.
One change at a time: adjust the hip belt, then the shoulder straps, then the load lifters. For precise setup, see how to dial load lifters to 45 degrees. A pack that's slightly too loose in the shoulder can feel perfect after a few micro adjustments. Give yourself permission to learn as you go.
When you find a pack that sits right on your body and holds what you need without excess, you've solved a problem that your future self will thank you for. Every hike becomes a little easier, a little more joyful, and a little more yours.
Keep exploring. If you're new to overnight trips, read firsthand reviews from hikers with bodies and goals similar to yours. If you're managing an old injury or chronic discomfort, seek out resources on load distribution and frame options from people who've solved that specific problem. Your research now saves trail miles of regret later. The right pack is out there, and it's worth the time to find it.
Related Articles