Backpack Suspension Systems Compared: Carry Comfortably
By Linnea Sørensen • 3rd Oct
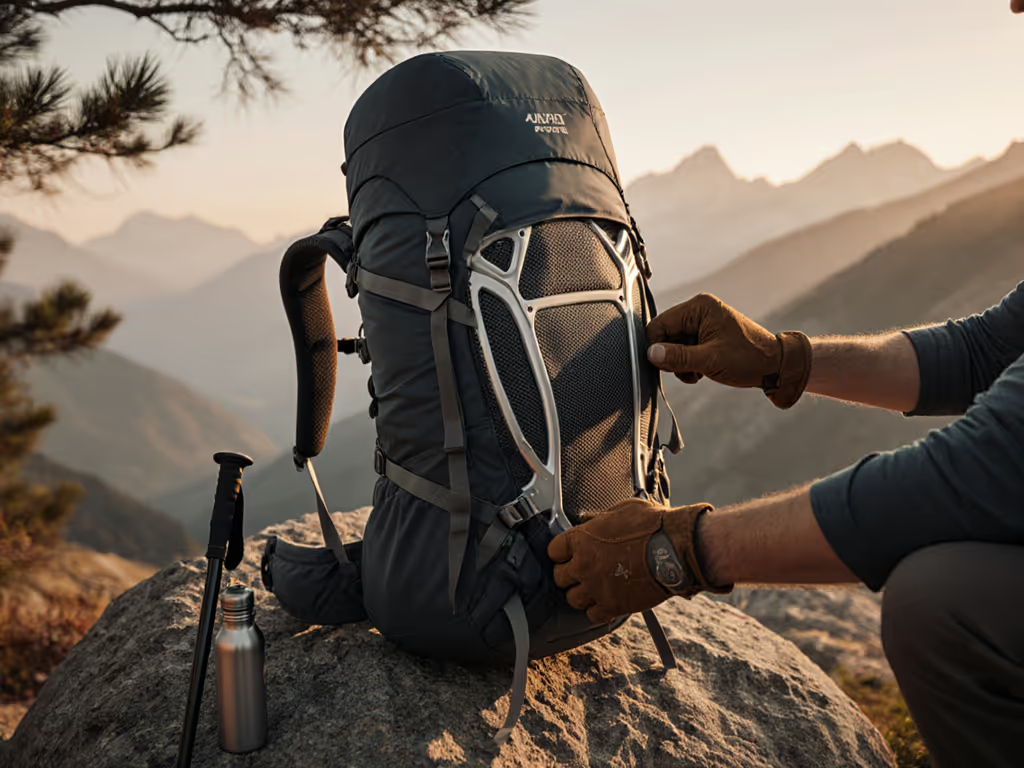
When you're standing at the trailhead with your fully loaded pack, the difference between a well-matched suspension system and a mismatched one is not just comfort, it's whether you'll make it to your destination with joy still in your step. A thoughtful hiking pack review digs deeper than weight and liters; it explores how the suspension moves with your unique body through miles of terrain. After fitting hundreds of hikers at community events, I've learned that the perfect pack isn't about finding the 'best' model, it's about finding the one that respects how your body carries weight.
I remember a hiker at a recent pop-up fit event who had almost walked away from backpacking altogether. They thought the discomfort they felt was just 'part of the experience' for bodies like theirs. After adjusting torso length, rotating the hip belt, and rerouting load lifters, something shifted, not just in their posture, but in their entire relationship with the trail. That's when it clicked: fit is care, not vanity. And when fit respects your body, it feels like permission.
Understanding Your Body's Unique Needs
Before diving into suspension types, take a moment to recognize how your body carries weight differently. Some bodies distribute load naturally through the hips; others engage more through the shoulders. Your torso length, shoulder width, and hip structure all interact with suspension systems in unique ways. This isn't about 'ideal' proportions, it's about understanding how your particular geometry meets the pack's architecture.
When testing packs, pay attention to pressure points that signal mismatch: hip belt digging into hip bones rather than resting on the pelvis, shoulder straps creating 'hot spots' on the shoulders or neck, or the pack pulling away from your back during movement. These aren't inevitable discomforts, they're communication. The pack should adapt to you, not the other way around.
Remember that your needs change with different loads and conditions. What works for a 15-pound day hike may not support you comfortably with 30 pounds on a multi-day trip. That's why understanding suspension systems matters, they're not static structures but dynamic interfaces between you and your journey.
Step 1: Identifying Suspension System Types
Suspension systems fall into several categories, each with distinct advantages depending on your body and load. Understanding these types helps you match your needs to the right technology.
The Ladder Back System
This classic design connects shoulder straps to horizontal loops resembling ladder rungs. It allows quick on-the-go adjustments and provides some upper torso mobility through its narrow point of attachment. However, the adjustment range is limited, and the upper back interface can create uncomfortable gaps for some bodies. This system works well for those with shorter torsos who need precise shoulder strap height adjustment but may not offer enough support for heavier loads.
The Keyhole Design
Using plastic hardware, keyhole systems attach shoulder straps to toggles that slot into 'keyholes' on the frame. This creates a direct, solid connection between straps and frame, offering excellent stability for scrambling and uneven terrain. The simplicity makes field adjustments intuitive, but fine-tuning options tend to be more limited than other systems. This design particularly benefits those with broader shoulders who need stable shoulder strap positioning.
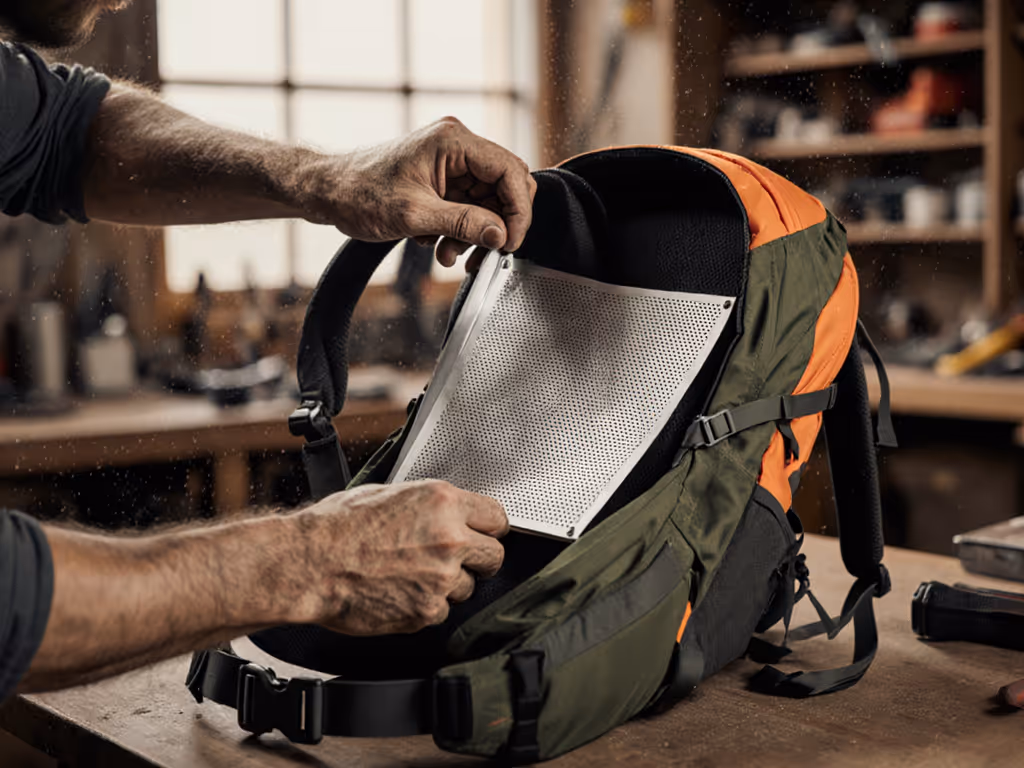
Floating Suspension Technology
This innovative approach addresses the vertical motion of pack weight during walking. Systems like Osprey's AntiGravity suspension use suspended mesh panels that move independently from the frame, reducing the jolting sensation with each step. The load distribution technology spreads weight across a larger surface area while maintaining close contact with your body, crucial for those sensitive to pressure points or with mobility considerations.
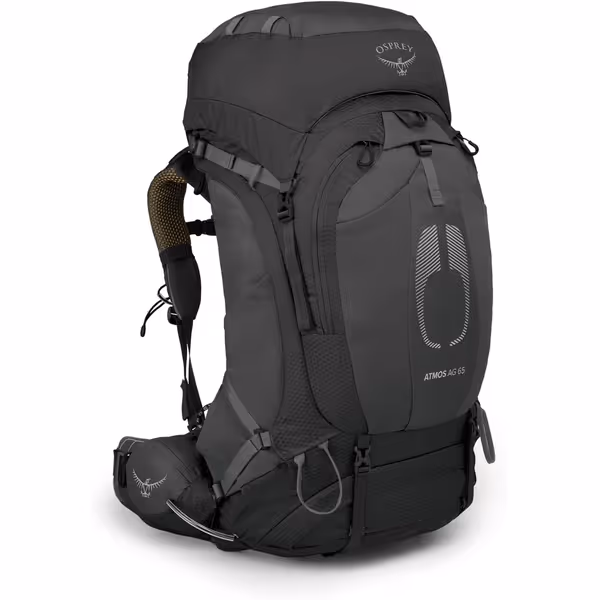
Osprey Atmos AG 65L Men's Backpack
Pain-free carry for multi-day trips with fine-tuned, dynamic fit.
$339.8
Capacity65L
Capacity65L
Pros
Anti-Gravity suspension provides exceptional comfort, even with heavy loads.
"Fit-on-the-Fly" harness and hipbelt allow precise, on-trail adjustments.
Integrated raincover and diverse access points enhance usability.
Cons
At 4.61 lbs, it's not the lightest option for ounce-counters.
Large side zip access can make internal organization tricky for some.
Customers find this backpack comfortable and well-constructed, with excellent weight distribution that makes it feel surprisingly light on the back. They appreciate its ample storage capacity with thoughtful organization features and external water bottle pockets, while also praising its fit and adjustability. The backpack performs well for various activities, with one customer noting its suitability for multi-day trips.
Customers find this backpack comfortable and well-constructed, with excellent weight distribution that makes it feel surprisingly light on the back. They appreciate its ample storage capacity with thoughtful organization features and external water bottle pockets, while also praising its fit and adjustability. The backpack performs well for various activities, with one customer noting its suitability for multi-day trips.
If you're weighing aero fit vs anti-gravity systems, consider that anti-gravity suspensions like those in the Osprey Atmos AG series create a more intimate relationship between your back and the pack, while aero-fit designs often prioritize ventilation over close contact. For many diverse bodies, this anti-gravity approach provides that elusive 'weightless' sensation even with substantial loads.
Step 2: Evaluating Hip Belt Suspension
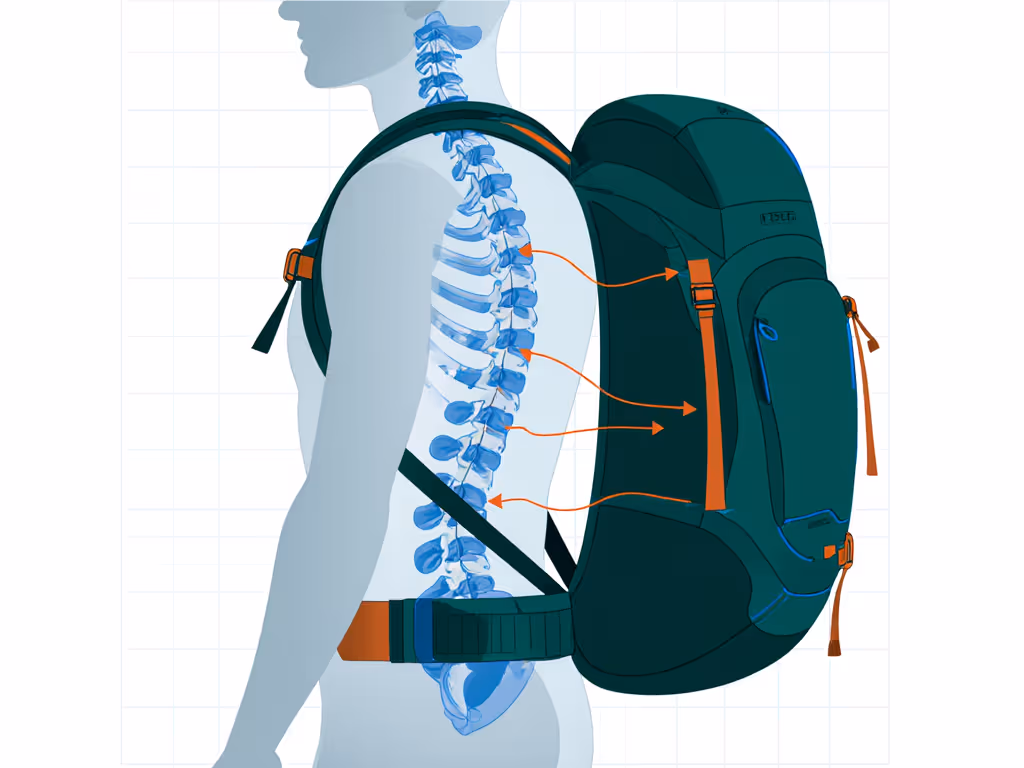
The hip belt is the foundation of your pack's suspension: it should carry 80-90% of your load. When fitting, position the belt so it sits on your iliac crest (the top of your hip bones), not your waist. The belt should wrap fully around your body without gaps, with the anchor points sitting just inside your hip bones.
Testing Your Hip Belt Fit
- Load the pack with 15-20 pounds of weight (sandbags work well)
- Fasten the hip belt snugly but not tightly (you should fit two fingers comfortably under the buckle)
- Check belt position: it should sit level across your hips, neither riding up in front nor sagging in back
- Walk and move: notice if the belt stays in place during bending, twisting, and side-stepping
The perfect fit never requires constant readjustment; it moves with you as naturally as breathing.
Your body communicates constantly through the hip belt. Listen to the belt. If it bites, shifts, or creates pressure points, it's not your body's fault, it's a mismatch in design. Gregory's Zulu series addresses this with their FreeFloat dynamic hipbelt that links to the frame with flex panels designed to move with your body's natural hiking motion. This system proves particularly valuable for bodies with straighter hip structures that often struggle with traditional curved belts.
When comparing hip belt suspension systems, notice how the padding distributes. Some belts concentrate padding at the front, creating pressure points for those with fuller hips, while others distribute padding more evenly around the entire circumference, better for diverse hip shapes. The right hip belt should feel like a supportive embrace, not a restraint. Give yourself time to notice subtle changes as you move.
Step 3: Analyzing Shoulder Strap Systems
Shoulder straps should carry only 10-20% of your load, but their fit dramatically affects comfort. Poorly designed straps can create shoulder bite, neck strain, or even hand numbness from nerve compression.
Key Features to Assess
- Strap shape: Contoured straps that mirror natural shoulder lines prevent digging and improve stability
- Sternum strap placement: Should sit comfortably below collarbones without restricting breathing
- Load lifter angles: Should direct force downward toward the hips, not outward
- Adjustment range: Should accommodate layered clothing without losing fit
For those with broader shoulders or fuller chests, traditional shoulder strap designs often create uncomfortable pressure points. Look for systems with wider strap separation at the top and more vertical attachment points. The Osprey Aura AG series (designed specifically for women's physiology) offers a thoughtful shoulder strap comparison example with its anatomically shaped harness that accommodates diverse chest structures without compromising load transfer.
When testing straps, pay attention to how they respond to different arm positions. Reach overhead, across your body, and behind you, your straps shouldn't shift dramatically or create new pressure points with normal movement. The straps should feel supportive but unobtrusive, like a familiar pair of well-worn shoes.
Step 4: Testing Real-World Load Distribution
The true test of any suspension system happens under load. Here's how to evaluate load distribution technology effectively:
The Movement Test
- Load your pack to your typical hiking weight (25-35 pounds for multi-day trips)
- Walk on varied terrain: find stairs, slopes, or uneven ground if testing indoors
- Perform dynamic movements: turn side-to-side, bend at knees, reach overhead
- Note how the pack responds: does it stay connected to your body? Does weight shift unexpectedly?
Pay special attention to what happens during descent, a well-designed suspension system should maintain stability without pulling you backward. The Gregory Zulu's perimeter frame system, for example, provides stable yet flexible support that helps keep your center of gravity aligned during downhill sections.
During your test, close your eyes briefly (safely!) and notice where you feel the weight. The ideal suspension distributes pressure evenly across your contact points without creating hot spots. If you feel weight concentrated in one area, the system isn't working harmoniously with your body's natural load-carrying structure.
Finding Your Perfect Match
Your ideal suspension system isn't about following trends, it's about finding equipment that respects how your body moves through the world. The right fit creates that magical feeling where you forget you're carrying weight, where the pack becomes an extension of you rather than a burden you haul.
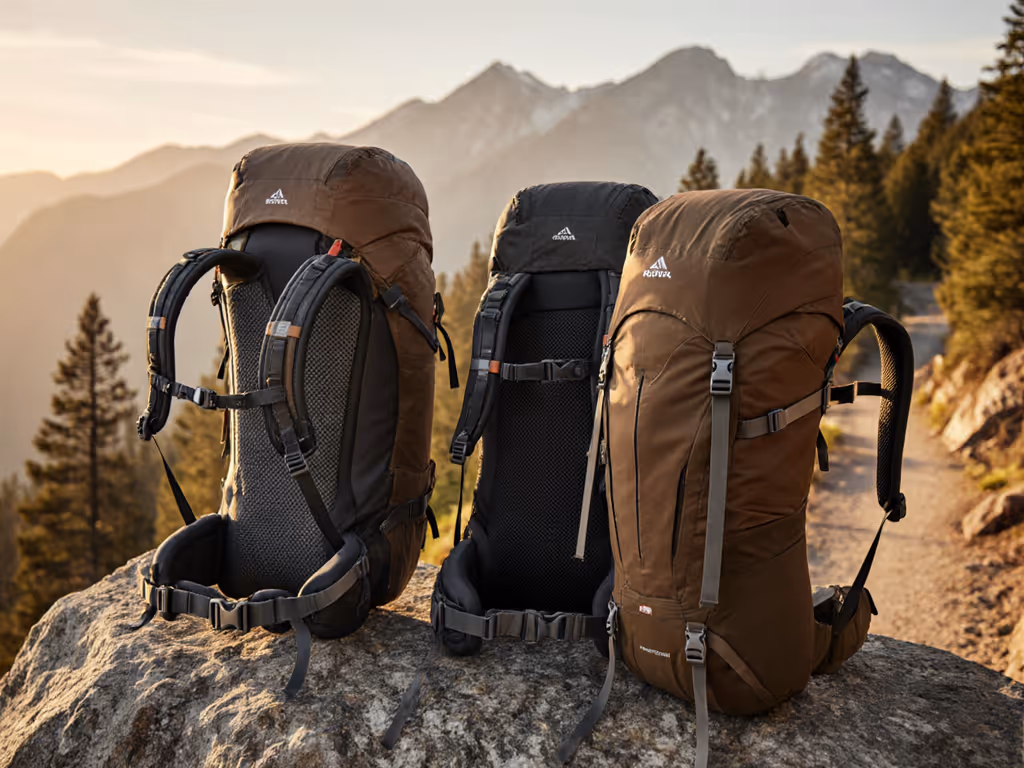
Next time you're considering a new backpack, skip the fixation on ounces and instead focus on how the suspension interacts with your unique body. Visit a shop that offers extended fitting sessions, or better yet, join a community fit event where you can try multiple systems with knowledgeable assistance. Bring your typical load weight and wear the clothing you'd wear on trail, this reveals how the suspension performs in real conditions, not just empty showrooms.
Try on at least three different suspension types with weights that reflect your actual trips. Walk, twist, and climb as you would on trail. Notice not just how the pack feels immediately, but how it responds to movement. That moment when the discomfort fades and your posture naturally relaxes? That's the sound of a suspension system working as it should, and the first step toward trail days where comfort isn't a luxury, but a given. Your body deserves nothing less.
Related Articles