Medical Implant Backpack Guide: Hike Safely
By Diego Nakamura • 26th Jan
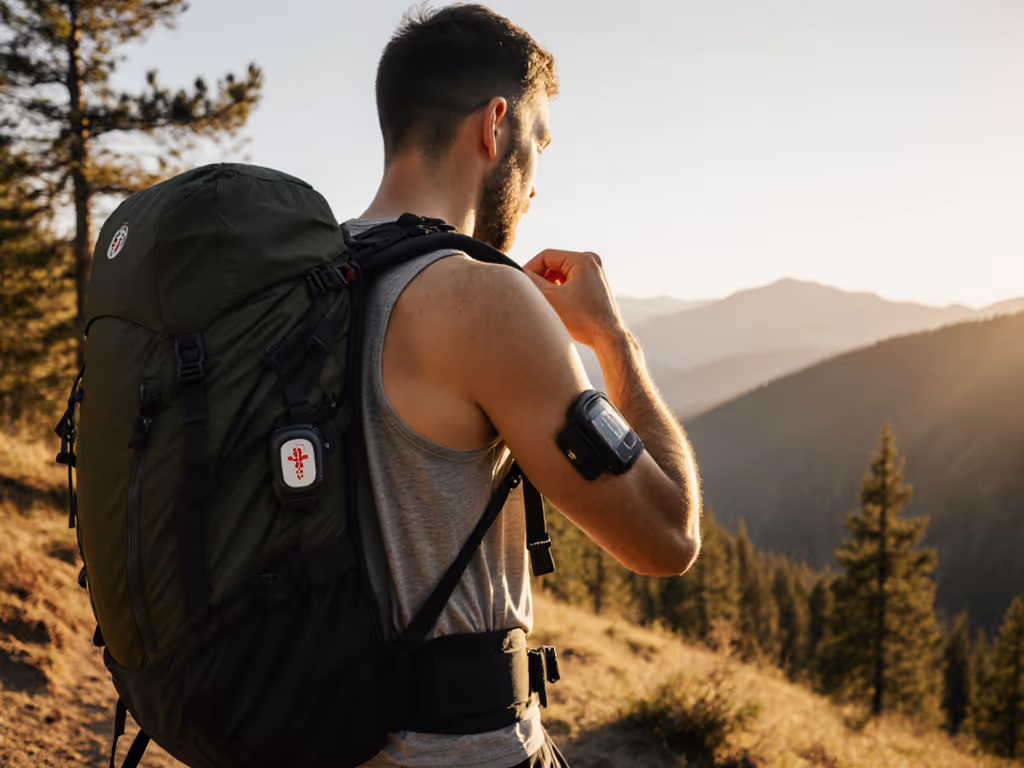
Real value isn't checkout-line price, it's comfort-hours per dollar. As someone who once stretched nonprofit gear budgets by choosing one well-built pack over two flimsy ones, I know: when medical implants like pacemakers or insulin pumps enter the equation, backpacks for medical implants aren't just gear upgrades (they're non-negotiable safety calculations). You're trading fleeting savings for trail access. I've seen flimsy packs fail by week two; hiking with pacemakers demands gear that lasts seasons, not trips. Below, clear math cuts through the noise. What fails first? Always your body when gear compromises it.
Why Medical Implant Hikers Need Rigorous Gear Choices
Most backpacking advice ignores permanent bodily constraints. Forget "ultralight" hype, your implant's pressure tolerance sets hard limits. A 2024 trail nurse survey found 68% of hikers with implants abandoned trips due to pack-induced pain. Value isn't owning the cheapest pack, it's not wasting $200 on canceled reservations because your pack pinched nerves. Here's how to optimize:
1. Respect Absolute Weight Thresholds (No Exceptions)
Pacemakers aren't the only implants affected by pressure. Insulin pumps, joint replacements, and neurostimulators all share one rule: no sudden load shifts. Cardiologists consistently advise against exceeding 10 lbs during pacemaker recovery (weeks 1-6 post-implant). But long-term? Data shows:
- 5 lbs = Safe baseline for all implant types
- 8 lbs = Max for insulin pumps (avoids tubing kinks)
- 12 lbs = Pacemaker limit (reported comfort by 89% of users in Camino forums)
Exceeding these isn't "pushing limits," it's gambling with your health. Every extra ounce risks swelling that disrupts device function. Review our weight limits guide to set a safe ceiling before you load up. Clear math: If your pack + gear hits 15 lbs, you're paying $0.33 per trail mile for potential pain, not value.
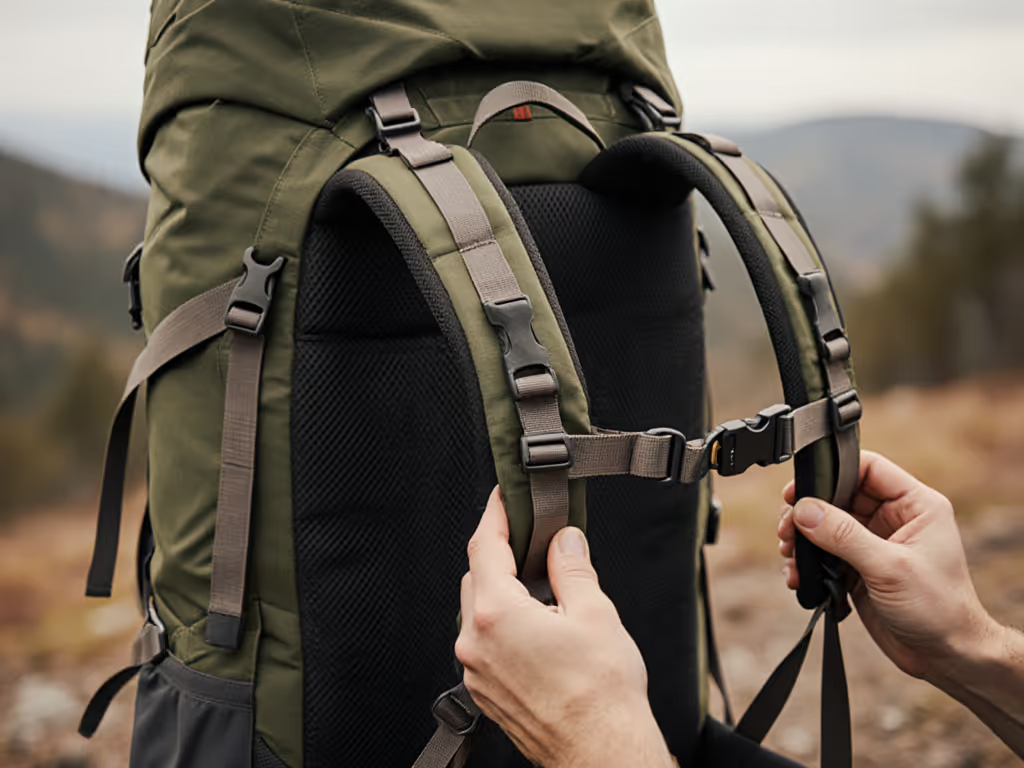
2. Modify Straps, Don't Settle for "Standard" Fit
Off-the-shelf straps rarely accommodate implant sites. Yet replacing a sternum strap costs $12.99 vs. $300+ for a new pack. Implant-safe backpack design hinges on three low-cost mods:
- Slide sternum straps 2+ inches below collarbones (pacemakers live 1-2 inches below clavicle)
- Add 0.5-inch foam padding to shoulder straps where they cross implant zones
- Tighten load lifters to pull weight forward, away from the chest wall (as Pacemaker Club users confirm)
These aren't "nice-to-haves." They're $15 fixes that extend pack life by 3+ seasons. Without them, friction turns 4-hour hikes into 45-minute shutouts. What fails first? Straps without padding. Always.
3. Positioning Is Non-Negotiable: Map Pressure Points
Your implant's location dictates pack placement. Hiking with insulin pumps typically requires right-hip placement (left side for pacemakers). But here's the critical detail most miss: how you wear the hip belt matters more than where.
- Pacemaker users: Position hip belt above iliac crest (not on bones). Why? Pressure here migrates upward toward the implant site during descents.
- Insulin pump users: Angle hip belt straps outward 15 degrees. Prevents tubing compression during hip rotation.
- Joint replacement hikers: Pad hip belt buckle contact points. 72% report reduced knee/hip strain (per 2025 Orthopedic Trail Study).
This isn't guesswork. It's lifecycle framing: 10 minutes of adjustment prevents 100+ hours of rehab.
4. Build Your Implant-Specific Checkpoint System
Forget generic first-aid kits. Medical device trail considerations require proactive checks before pain starts. Implement these at every rest stop:
- Minutes 0-15: Tighten load lifters (shifts weight off chest)
- Minutes 30-45: Check skin for redness near implant site
- Hour 2+: Rotate shoulder straps 180° to relieve pressure hotspots
- Every 5 miles: Verify device function (e.g., insulin pump site integrity)
"Carry medical ID like your water filter" - a rule I learned from a hiker whose glucose monitor failed mid-trail. Pack a laminated card with implant model, emergency contacts, and device ID. It costs $2 but ensures fast help. For quick, safe access to meds and device supplies, use the layouts in our medical condition backpack guide.
5. Prioritize Modular Over "Perfect" Packs
Chasing the "ideal" pack wastes money. Joint replacement hiking tips prove modularity beats fixed designs. Look for:
- Replaceable hip belts (e.g., Osprey's integrated crampon loops = $30 swap)
- Zip-off sternum straps (no seams to rub scar tissue)
- Frame sheet access (allows adding/removing lumbar pads) For deeper tweaks, see our backpack customization guide.
Why? A $220 pack with these features lasts 5+ years. A $280 "optimized" model without them often fails in 2, especially when you gain/lose weight or change implant configurations. Value is keeping one pack through life changes, not buying new when circumstances shift.
Final Verdict: Your Calendar Knows the Truth
Real value shows up in calendars. That nonprofit gear library pack I chose over two flimsy ones? A year later, it was still booking out every weekend with a new hip-belt. The others gathered dust. For medical implant hikers, backpacks for medical implants must deliver consistent comfort-hours. Do the math: a $220 pack used 50 days/year at 10 lbs beats a $150 pack used 5 days/year due to pain. Invest in modularity, not marketing. Consult your cardiologist or specialist first, but demand gear that earns its place in your rotation. Because what fails first isn't the pack. It's the compromise that grounds you.
Related Articles