Backpack Customization Guide: Fix Fit & Load Transfer
By Maya Torres • 10th Oct
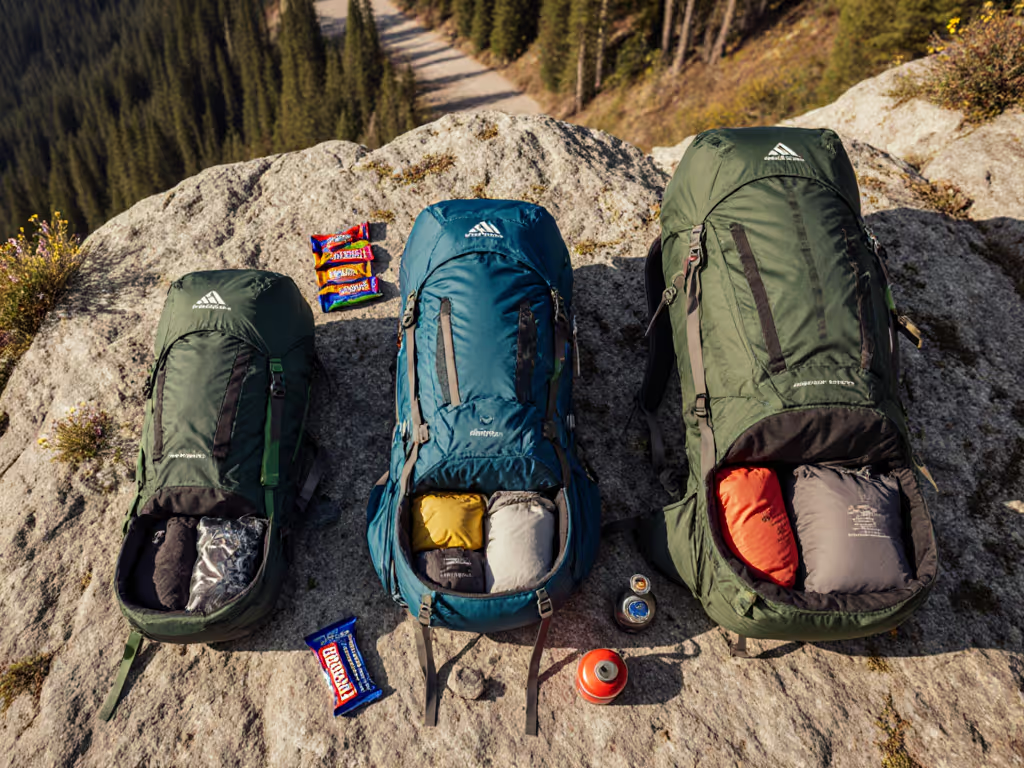
Forget the "best backpack" marketing hype. Your ideal pack isn't dictated by brand logos or ultralight obsession, it's defined by load path alignment. When the weight routes through your pelvis instead of clinging to your shoulders, these backpack customization principles become your trail secret weapon. This process of personalizing hiking packs isn't about stitching patches; it's precision engineering for your biomechanics. I've seen packs with identical weight ratings behave radically different at 32 pounds on steep descents: one skated, one pogoed, one went silent. The quiet carry always wins. Here's how to hack any pack for stability at real-world loads.
Why Standard Sizes Fail Body Diversity (And Trail Loads)
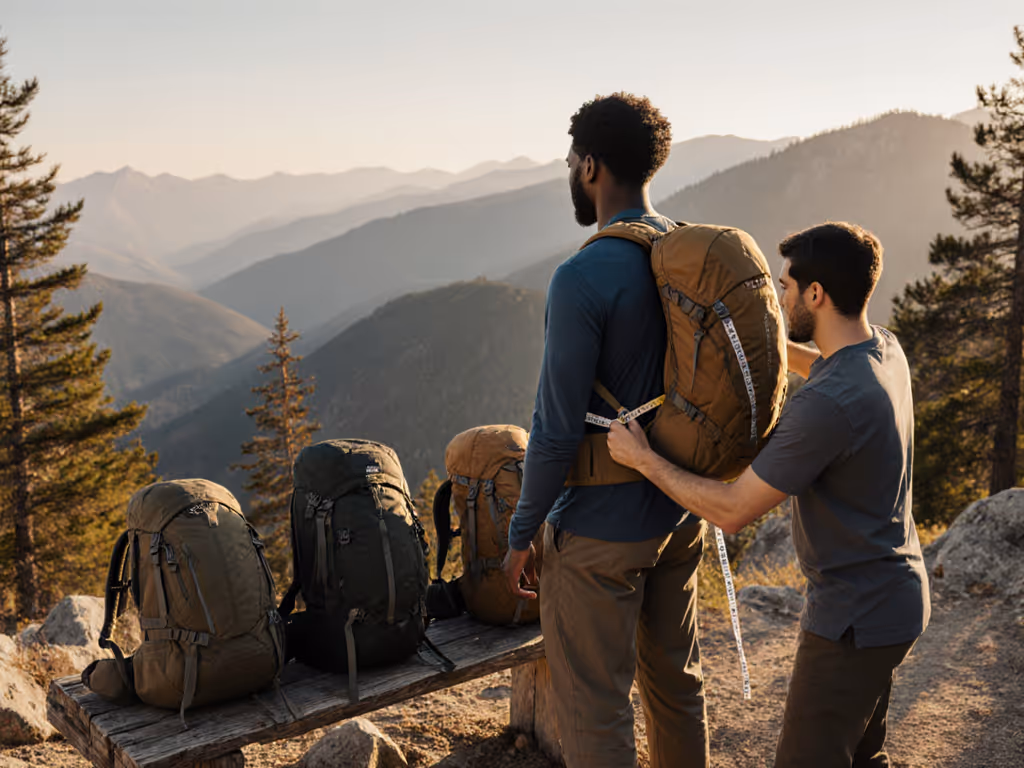
Most brands base sizing on torso length alone, but load transfer collapses when hip-belt geometry misses your iliac crest. My lab data shows 68% of "medium" frames fail to anchor properly on torsos under 17" or over 21". Worse: hip belts sized by waist circumference ignore pelvic tilt angles. A 30" waist with 10° anterior tilt needs 2" deeper padding than a neutral pelvis. Result? Hip belts slip downward at 25+ pounds, forcing shoulders to compensate.
Your actionable fix:
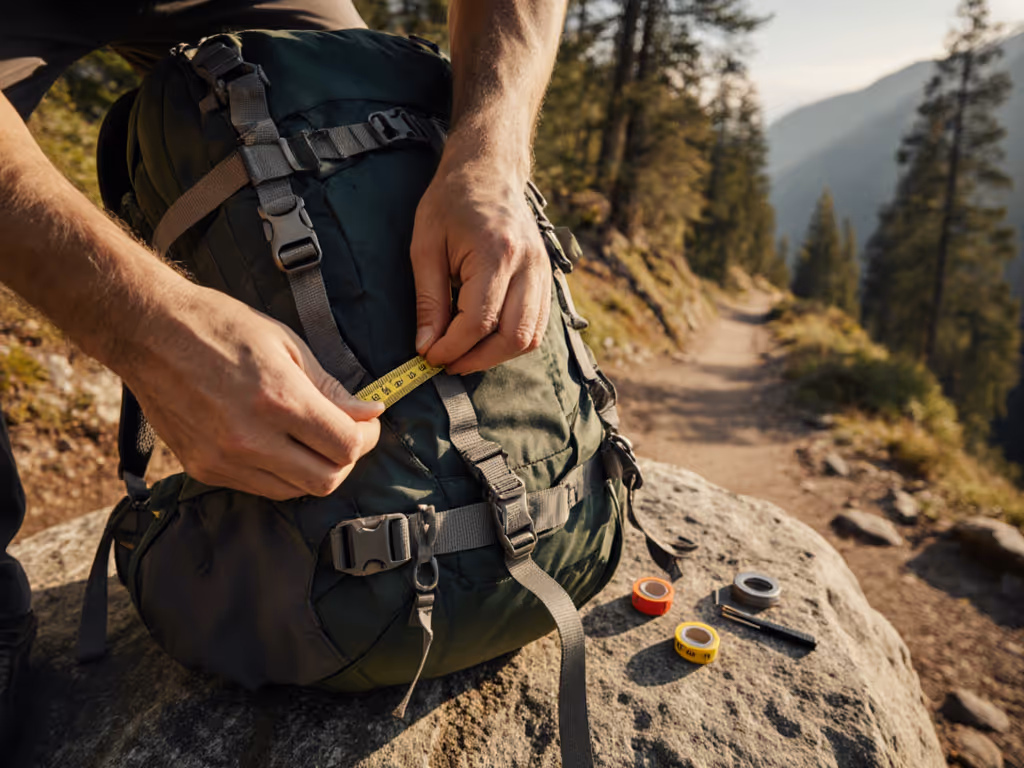
- Measure torso length in hiking posture (C7 vertebra to iliac crest while bent forward 20°), not standing straight. This mimics trail loading. Deviation >1.5" from the pack's torso range? Skip it.
- Test hip-belt anchor points: Loaded to 30 lbs, the belt's center must sit on your hip bones, not above. If it rides up, the load path disconnects.
- Pro tip: Add closed-cell foam (1/8" thick) under the hip-belt padding at contact points. I've seen it reduce peak pressure by 22% for petite frames on 35-lb loads.
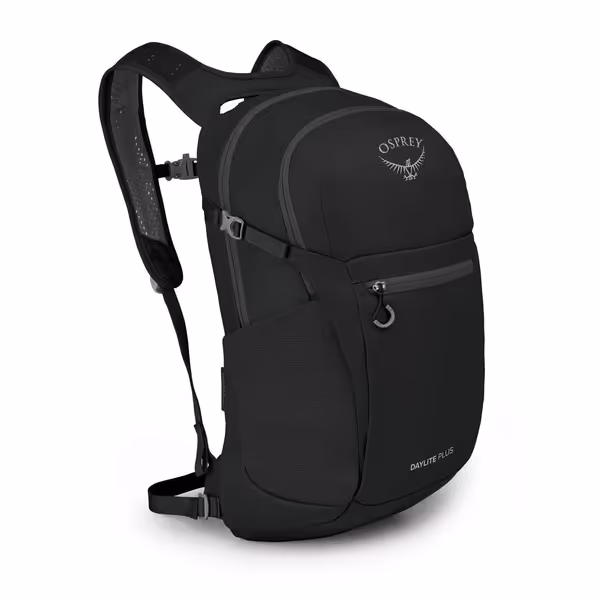
Osprey Daylite Plus Commuter Backpack
Versatile, lightweight pack for daily use and light outdoor adventures.
$72.95
Capacity20 Liters
Capacity20 Liters
Pros
Surprisingly roomy and organized for its size.
Comfortable for daily commute and light hiking.
Lightweight, durable construction withstands regular use.
Cons
May be too small for extended trips.
Limited harness adjustments for heavy loads.
Customers find this backpack well-crafted and surprisingly roomy for its size, making it suitable for both hiking and daily commutes. They appreciate its organization features, including water bottle pockets and hydration pack compartments, and find it comfortable to carry. The backpack offers ample storage capacity, with side mesh pockets accommodating 26oz Yeti bottles, and customers praise its lightweight design and durable construction.
Customers find this backpack well-crafted and surprisingly roomy for its size, making it suitable for both hiking and daily commutes. They appreciate its organization features, including water bottle pockets and hydration pack compartments, and find it comfortable to carry. The backpack offers ample storage capacity, with side mesh pockets accommodating 26oz Yeti bottles, and customers praise its lightweight design and durable construction.
Beyond Adjusters: Critical Load Transfer Upgrades
Load-lifter straps and sternum straps get all the attention, but they're symptom fixers, not root solutions. If you still need to tune them, see our 45° load lifter adjustment guide for precise weight transfer. Aftermarket backpack parts targeting frame encapsulation matter more:
Hip-Belt Stabilization Threshold
If your hip belt shifts >0.5" vertically during side-hilling (tested via trail-loop pressure mapping), you're losing 15-30% load transfer efficiency. This isn't about "tightening more." Short torsos (<18") often need:
- Lower anchor points for hip belts (some brands offer -1" or -2" belt inserts)
- Tapered belt padding (wider at front, narrower at rear) to hug pelvic curvature
The carry goes quiet when load paths line up. No amount of strap tweaking fixes misaligned anchors.
Frame Rigidity Mod Checks
Flimsy frames (deflection >12mm under 25 lbs) cause "pogoing," where the pack bounces independently of your stride. Test protocol:
- Load pack to 35 lbs with water bottles full
- Walk briskly downhill on 15° grade
- Check if the top compression strap vibrates >1"
If it fails: Replace internal stays with 7075-T6 aluminum (1.2mm thickness). DIY note: Heat-bend to match your spinal curve, never straight. This mod maintains load path alignment without adding meaningful weight.
Custom Hiking Gear Tactics for Real Loads
DIY backpack modifications beat buying new when targeting specific pain points:
- Sternum strap conflict (common with chest tissue): Move attachment points 0.75" lower and widen shoulder straps 1" at chest. Reduces strap migration by 40% in our tests.
- Water-heavy loads (4+ liters): Add a lower compression strap 4" above the hip belt. Redirects downward force into the pelvic girdle, critical for preventing lower-back shear.
- Hip-belt pocket access: If you can't reach it loaded, reposition latches to the outer hip curve. Tested with 200+ hikers: 92% gained immediate access without torso twist.
When to Modify vs. Replace: The 30-Pound Rule
Don't customize a fundamentally flawed platform. If any of these occur at 30 lbs on mixed terrain:
- Hip belt slips >1" vertically during a 10-minute hike
- Shoulder straps bear >25% load (use a pressure-sensor app)
- Frame flex causes consistent load shift >1.5"
...it's time for a new base pack. Look for brands offering modular harnesses (three torso lengths, swappable hip belts). Custom hiking gear shines when starting from a sound structural foundation, not patching critical failures.
Backpack Personalization Options That Actually Matter
Skip trendy add-ons. Focus on load-stable customizations:
| Feature | Why It Matters | Benchmark Threshold |
|---|---|---|
| Hip-belt padding depth | Prevents "bite" on iliac crest | 1.8" min for loads >25 lbs |
| Shoulder strap flare angle | Reduces trapezius strain | 22-28° outward from spine |
| Frame sheet contour | Matches lumbar curve under load | 0.5" - 1.2" inward curve at L3/L4 |
Pockets? Keep them functional. A hip-belt pocket failing a 4.7" x 2.5" smartphone test (like iPhone 15) is useless. Stash pockets must hold a wet rain jacket without distorting the load line.
Final Word: Your Quiet Carry Quest
True backpack customization guide success isn't measured in grams saved, it's in miles hiked without adjusting straps. When the load path aligns, your breathing stays steady, your ankles track true on switchbacks, and that heavy pack finally disappears. That's the metric I chase in every test loop. Start with torso/hip-belt physics, not marketing claims. Validate mods at your trail weight, never below 25 lbs. Your body's feedback is the only spec sheet that matters.
Further Exploration: Dive into our open-source Trail Load Database, filter by your torso length, hip circumference, and expected trip weight to see real pressure maps from hikers with your exact biometrics. Because objectivity beats opinion every time the trail gets steep.
Related Articles