Dog Hiking Pack Fit Guide: Water, Leash & Storage
By Linnea Sørensen • 3rd Mar
A well-fitted dog hiking pack transforms backcountry hiking from something your companion merely tolerates into a shared adventure where they actively contribute their own gear and water. But fit that respects your dog's body feels like permission... permission to move freely, breathe deeply, and walk mile after mile without compensation or strain. This guide walks you through the mechanics of choosing and adjusting a canine companion pack so that comfort becomes routine, not an accident. For model-specific adjustments and troubleshooting, see our dog pack fit fixes.
Why Pack Fit Matters for Your Dog
A dog in a hiking pack isn't just carrying weight; they are carrying it while navigating uneven terrain, scrambling over rocks, and shifting their body to match slope and obstacles. Unlike a human backpacker who can fine-tune a torso length or roll their shoulders, a dog depends entirely on you to set them up right. An ill-fitting pack can create pressure points at the shoulders, restrict breathing, or cause the load to shift side to side (all adding fatigue and risk of injury on longer trails).
The good news: most of the discomfort hikers assume is normal is actually avoidable through three core adjustments: torso length, belt fit, and load balance. At a community fit night, I watched a nervous hiker whisper that they thought their dog simply "wasn't built for backpacking." We adjusted the pack's suspension, balanced the load heavier at the front near the shoulders, and rotated the belt so it sat on the dog's natural waist. Their eyes changed before the fit changed. Posture relaxed. Pain cues faded. Fit that respects your body is care, not vanity.
What Goes in a Dog Hiking Pack?
Essential Items
A dog on the trail needs to carry their own necessities so you can travel lighter together:
- Water and a collapsible bowl or integrated water storage
- Food for the hike (or multi-day trip)
- Dog booties and poop bags
- A lightweight first aid kit
- Sleeping gear (for overnight trips)
- Cooling bandana or jacket (depending on season)
- ID tags and GPS tracker for safety
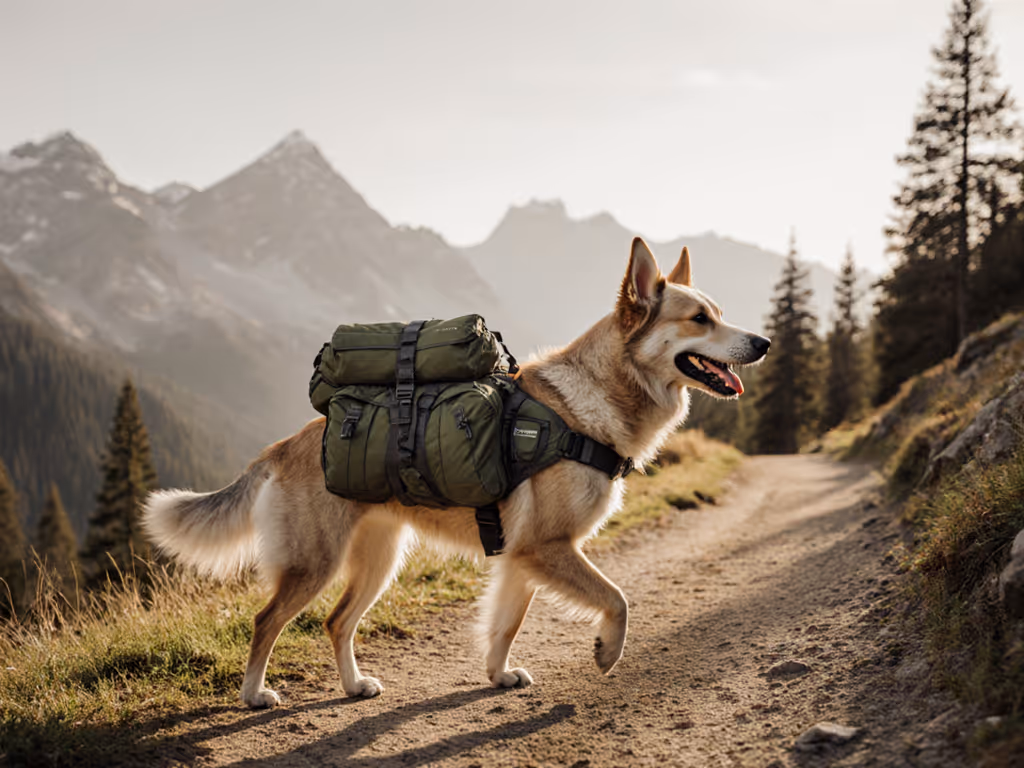
Storage Considerations
Smaller day packs are designed to carry only basic hiking gear such as water, treats, and waste, often with a capacity of 6-10 liters. Dog hiking pack models for longer trips (16-30 liters) include saddlebag-style compartments and soft-lined pockets that keep heavier items like water bottles and food accessible without digging.
Listen to the belt. A well-fitted pack distributes load through the hips, not the shoulders.
FAQ: Fit, Features & Function
How Do I Measure My Dog for the Right Torso Length?
Torso length is the critical measurement that most people skip, and then wonder why their pack sits wrong. Place a measuring tape at the base of your dog's neck (where the collar normally sits) and run it straight down the spine to the base of the tail. This is your torso length.
Match this measurement to the pack's size chart. Packs typically come in XS through XL, with each size corresponding to a specific torso range (e.g., 12-14 inches, 14-16 inches). A pack that's too long pulls backward and restricts hind-leg movement; one that's too short bunches material at the shoulders and can press into the ribs.
What About the Belt? How Should It Fit?
The hip belt should sit on the dog's natural waist, just behind the rib cage, where you can feel a slight narrowing when you run your hand down the sides. This is where the pelvis supports the hips. The belt carries 60-70% of the load, just as it does on a human pack. If the belt is too high (riding the ribs) or too low (sliding toward the haunches), the pack will rock side to side or pull upward, creating shoulder fatigue.
Most quality packs have adjustable belts that come in small, medium, and large sizes. If your dog is between sizes, you may find an extra belt size available for separate purchase (a feature worth seeking out if you plan to use the pack across multiple dogs or seasons).
What Are Load Lifter Straps, and Do I Need Them?
Load lifters are the small straps that run from the top of each saddlebag down to the hip belt, typically at a 45-degree angle. They stabilize the load and prevent it from pulling backward on the shoulders as your dog moves. On a short-torso dog, these angles matter: if they're set too steep, they can chafe the shoulders; if too shallow, they won't anchor the load effectively.
Adjust load lifters so they are snug but not tight (there should be slack of about one finger-width at rest). Once your dog is moving, they'll engage fully. This is especially important for dogs doing steep descents or scrambles, where forward momentum can shift the pack's center of gravity.
How Do I Fit a Leash Attachment to the Pack?
Most quality packs have rear or neck leash attachment points so you can clip a hands-free leash without threading it through a collar or harness. This gives you positive control during trail encounters, creek crossings, and technical terrain, and keeps the pack's rigging clean.
If your pack doesn't have a built-in leash loop, you can use a carabiner to clip a lightweight hands-free leash directly to a saddlebag zipper pull or compression strap. Ensure the attachment point is secure and won't slip, and avoid clips that dangle (they catch branches and snag).
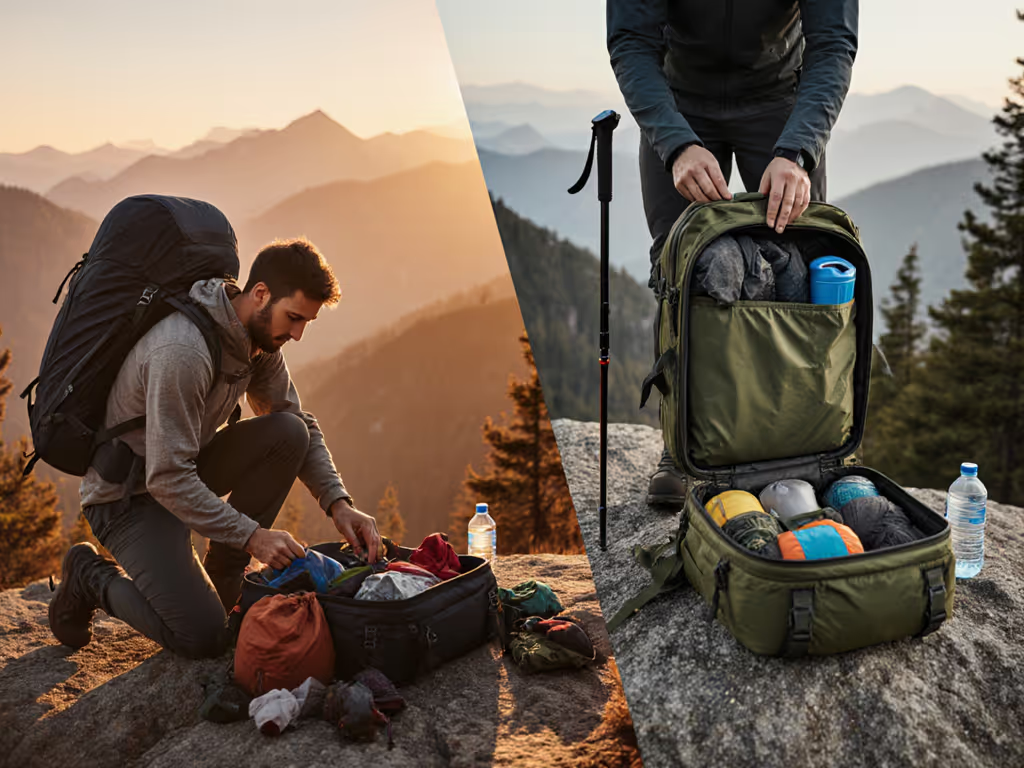
How Should I Pack the Weight? Are There Best Practices?
Weight distribution dramatically affects stability and comfort. Begin by laying out all your dog's gear and organizing it into two roughly equal piles, one for each saddlebag. Place heavier items (water bottles, food, first aid kits) at the front of each compartment, as close to your dog's shoulders and body as possible. This supports efficient load bearing and reduces strain on the spine.
Fill the remaining space with lighter items. Avoid placing sharp or hard-edged items directly against your dog's body; use a soft barrier like a sleeping bag or jacket. Once packed, tighten the compression straps firmly so the load stays secure and clear from the shoulders and elbows. For a deeper dive into balanced packing that reduces fatigue, see our weight distribution pro tips.
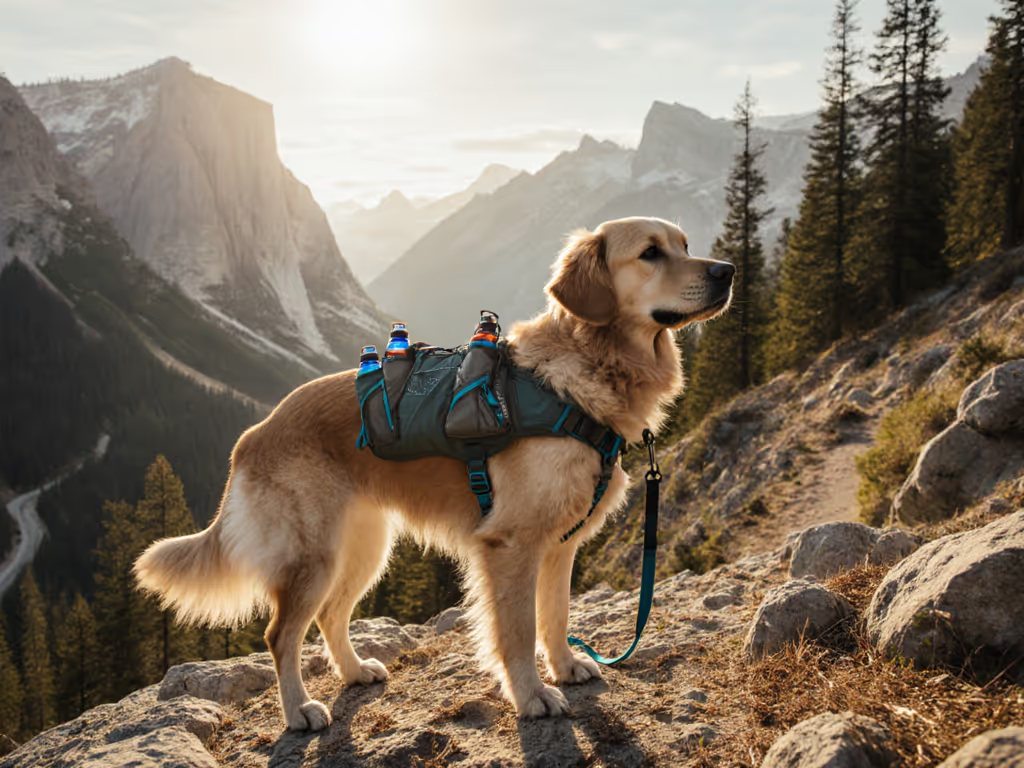
How Do I Integrate Water Storage into the Pack?
Dog water storage solutions typically fall into three categories:
Built-in bladder pockets: Some packs have integrated compartments for hydration bladders (similar to human packs). These are lightweight and distribute water weight evenly across the saddlebags.
External bottle pockets: Specialized pockets on the sides or back of the pack allow you to clip water bottles or collapsible carriers. This makes refilling easier at water sources but adds minor external weight.
Integrated bowls: A few pet-friendly backpack features include a collapsible bowl that attaches to a carabiner on the pack itself, eliminating the need to dig for it at every stop.
Choose based on your terrain and how often you'll need water access. For desert or dry terrain, carrying water weight is non-negotiable; for alpine or well-watered routes, you might rely more on natural sources and carry a lightweight bowl instead. If you frequent arid trails, our desert hydration pack guide compares high-capacity water carry solutions and sand protection strategies.
What Features Should I Prioritize in a Pack?
When comparing options, focus on these non-negotiables:
- Adjustable straps (both outside and inside compartments) for a truly custom fit
- Snug, secure fit with minimal fabric movement or bounce
- Lightweight, breathable material so your dog doesn't overheat
- Saddlebag-style pockets for balanced, organized storage
- Secure zippers and reinforced seams, especially at stress points
- Soft-lined compartments to protect gear and prevent chafing
- Top handle for control during challenging sections
How Do I Acclimate My Dog to Wearing a Pack?
Start indoors. Put the empty pack on your dog in short sessions (5 to 10 minutes) while offering praise and treats. Gradually increase wear time and add light weight. Once your dog seems relaxed, take them on a short walk (15-20 minutes) with minimal weight to build confidence and strength.
For multi-day trips, start with shorter hikes and less weight in their packs, progressively building strength and experience. Most dogs adapt within a few days, but patience and positive reinforcement are essential. Owners of 50+ lb breeds should also review our large dog backpacking guide for weight limits, terrain tips, and stability tweaks.
What Should I Check Before Each Trip?
Before hitting the trail, verify the fit one more time:
- Does the hip belt sit on the natural waist, with no gap between belt and body?
- Are the shoulder straps snug but not tight, with roughly one finger-width of slack?
- Do load lifters engage at a 45-degree angle without chafing?
- Is the pack centered on the spine, not tilted to one side?
- Are all zippers and straps secure?
Have your dog walk in circles or small figure-eights to confirm the pack moves naturally with their body. If anything shifts or feels loose, re-adjust before departing.
Summary and Final Verdict
A well-fitted dog hiking pack is one of the highest-return investments in shared backcountry time. The mechanics are straightforward: correct torso length, secure hip belt, balanced weight, and thoughtful placement of water and dog leash attachment systems. When these elements align, your dog moves with confidence, carries their own load comfortably, and you both arrive at camp (and at the trailhead days later) without compensation or regret.
Fit that respects your body feels like permission. Start with accurate measurements, test the pack on shorter hikes, and listen to the belt. Your dog will thank you by showing up again and again, ready to move.
Related Articles